Introduction
This Install Podman on AlmaLinux 10 with Quadlet and Cockpit guide shows how to install Podman on AlmaLinux 10, use Quadlet to define and run containers as systemd services, and view status in Cockpit. We start with a single Uptime Kuma container, then secure it by running an Nginx TLS reverse proxy in the same pod. The end result is a clean, reproducible setup that starts at boot and is easy to redeploy.
By the end of this Install Podman on AlmaLinux 10 with Quadlet and Cockpit guide you will have a working Uptime Kuma deployment, served over HTTPS by Nginx, fully managed by systemd through Quadlet.
Containers
A container is an isolated environment for running applications with their dependencies. Containers use the host kernel through namespaces and cgroups, while bundling a complete userland if desired, such as Alpine or Debian. This avoids conflicts with the host and keeps each application self-contained.
Why containers are widely used:
- Isolation of dependencies and configuration from the host and other workloads
- Reproducibility of builds and runs across development, staging, and production
- Fast deployment and redeployment
- Orchestration and scaling with platforms like Kubernetes, including duplication and load balancing
Podman
Podman is an OCI-compliant container engine from Red Hat. It runs the same images as Docker and provides a Docker-compatible CLI. Podman has no central daemon. When used with Quadlet, each container or pod is represented as its own systemd service, which aligns container lifecycle with the rest of your system services.
Rootless vs rootful
By default, Podman is configured to run in rootful mode, which we will use in this guide for simplicity. This also allows binding to any port, including ports below 1024, without extra configuration.
Unlike Docker, Podman also supports rootless containers, where containers run as an unprivileged user. This can add security benefits, but by default cannot bind ports below 1024. You can however change that system-wide with:
sudo sysctl -w net.ipv4.ip_unprivileged_port_start=0Quadlet
Quadlet is a systemd generator included with Podman. You define containers and pods as simple files ending with .container or .pod. On reload or boot, systemd reads these files and generates .service units that run your containers or pods.
Benefits of Quadlet:
- Clean separation of configuration and runtime state
- The files document your containers and pods and can be version controlled with Git
- Automatic start at boot and after redeployment
- No need to manually write systemd units
Basically, we define pods and containers, and Quadlet converts them to services.
(Quadlet also supports .volume, .network, and .kube files, but this guide uses only .container and .pod.)
1. Installation
Update your system:
sudo dnf updateInstall Podman and the Cockpit plugin:
sudo dnf install podman cockpit-podmanQuadlet is included with Podman. No extra steps are required.
2. Deploying Uptime Kuma with Quadlet
In this section, we will deploy Uptime Kuma as a Podman container using a Quadlet file. Quadlet lets us define our container configuration in a simple .container file, which Podman automatically converts into a systemd unit. This makes the deployment reproducible, easy to version control, and ensures it starts automatically after reboots or redeployments.
2.1 Quadlet file locations
Rootful Quadlets are stored in, and read from:
/etc/containers/systemd/
/usr/share/containers/systemd/
We will store ours in:
/etc/containers/systemd/2.2 Uptime Kuma Quadlet
Start by creating the container file:
sudo nano /etc/containers/systemd/uptime-kuma.containerContent:
[Unit]
Description=Uptime Kuma monitoring service
After=network-online.target
Wants=network-online.target

[Container]
Image=docker.io/louislam/uptime-kuma:1
PublishPort=3001:3001
Volume=uptime-kuma:/app/data

[Service]
Restart=always

[Install]
WantedBy=multi-user.target
2.3 Persistent volume
A persistent volume is storage managed by Podman that exists independently of the container lifecycle. Persistent volumes are used to store user and application data, ensuring it survives redeployment, restarts, or container removal. Without a persistent volume, redeploying the container would wipe stored data.
In this example, the line:
Volume=uptime-kuma:/app/datacreates and uses the volume at:
/var/lib/containers/storage/volumes/uptime-kuma/_dataThis location is managed by Podman.
2.4 Validate a Quadlet file
Check that the Quadlet definition is valid and see the systemd unit that would be generated:
sudo /usr/libexec/podman/quadlet --dryrun /etc/containers/systemd/uptime-kuma.containerIf the file is valid you will see the generated unit. If it is skipped the output explains why.
2.5 Reload generators
sudo systemctl daemon-reexecThis re-runs systemd generators, including Quadlet.
2.6 Start the container
sudo systemctl start uptime-kuma.serviceThe service name is derived from the filename. You can now access Uptime Kuma at:
http://<server-ip>:3001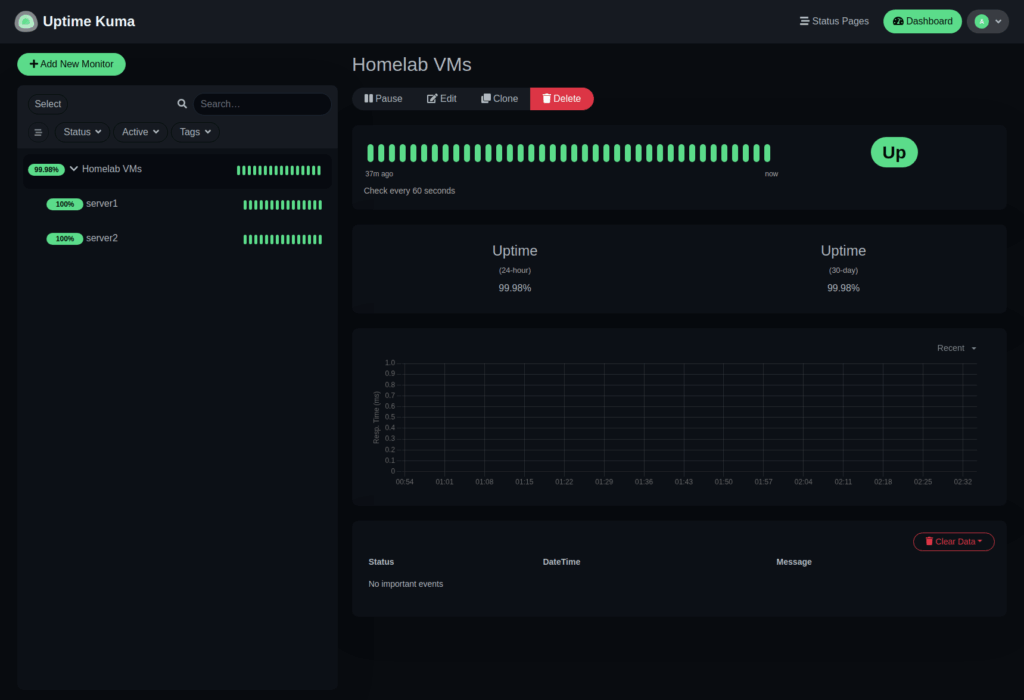
3. Creating a pod with Nginx TLS reverse proxy and Uptime Kuma
In this section, we will combine Uptime Kuma and Nginx into a single Podman pod. Nginx will act as a reverse proxy with TLS enabled, communicating with Uptime Kuma over localhost inside the pod. This setup ensures encrypted HTTPS access for clients/edge reverse proxies while keeping internal traffic secure and isolated.
3.1 Keeping Local Traffic Encrypted
Uptime Kuma recommends running it behind a reverse proxy to add TLS. If the reverse proxy is on the same host it can talk to Uptime Kuma over localhost, and you don’t need this step. However, if the reverse proxy is on another host/VM, traffic between the reverse proxy and Uptime Kuma on the LAN is unencrypted unless you secure it with something like Headscale, Tailscale, or mTLS.
For simplicity, we will create a pod that runs both Uptime Kuma and a small dedicated Nginx reverse proxy that serves HTTPS specifically for Uptime Kuma. Inside the pod, Nginx talks to Uptime Kuma over localhost, while clients or an edge reverse proxy connect to Nginx over TLS.
3.2 Generate a self-signed certificate
We will name our certificate and private key after the server hostname, using .lan as the internal domain. In this example the hostname is myserver.lan, so the certificate is myserver.crt and the private key is myserver.key.
Create the certificate and private key:
sudo openssl req -x509 -nodes -newkey rsa:2048 -days 3650 \
  -keyout /etc/pki/tls/private/myserver.key \
  -out /etc/pki/tls/certs/myserver.crt \
  -subj "/CN=myserver.lan" \
  -addext "subjectAltName=DNS:myserver.lan"
3.3 Create the Nginx config on the host
We will store the Nginx configuration on the host, not inside the container. This keeps the configuration outside the container lifecycle so it persists across restarts and redeployments. The container will mount and use this file at runtime.
Create Nginx configuration file:
sudo nano /etc/containers/uptime-kuma-nginx/conf.d/default.confContent:
server {
    listen 443 ssl;
    server_name myserver.lan;

    ssl_certificate     /etc/ssl/certs/myserver.crt;
    ssl_certificate_key /etc/ssl/private/myserver.key;

    location / {
        proxy_pass http://127.0.0.1:3001;
        proxy_set_header Host $host;
        proxy_set_header X-Real-IP $remote_addr;
        proxy_set_header X-Forwarded-For $proxy_add_x_forwarded_for;
        proxy_set_header X-Forwarded-Proto https;
    }
}
3.4 Create the pod definition
Create pod definition:
sudo nano /etc/containers/systemd/uptime-kuma.podContent:
[Unit]
Description=Pod for Uptime Kuma and Nginx HTTPS proxy
After=network-online.target
Wants=network-online.target
Wants=uptime-kuma.service uptime-kuma-nginx.service

[Pod]
PodName=uptime-kuma.pod
PublishPort=3001:443

[Service]
Restart=always
RestartSec=5

[Install]
WantedBy=multi-user.target
This creates a pod called uptime-kuma and publishes HTTPS port 443 from the pod to the host.
3.5 Uptime Kuma container in the pod
Create the Uptime Kuma container definition:
sudo nano /etc/containers/systemd/uptime-kuma.containerContent:
[Unit]
Description=Uptime Kuma monitoring service
After=uptime-kuma-pod.service
Requires=uptime-kuma-pod.service
PartOf=uptime-kuma-pod.service

[Container]
Image=docker.io/louislam/uptime-kuma:1
Pod=uptime-kuma.pod
Volume=uptime-kuma:/app/data

[Service]
Restart=always
RestartSec=5

[Install]
WantedBy=multi-user.target
This runs Uptime Kuma in the uptime-kuma pod and uses the same persistent volume as before.
3.6 Nginx HTTPS proxy container in the pod
Create the Nginx container definition:
sudo nano /etc/containers/systemd/uptime-kuma-nginx.containerContent:
[Unit]
Description=Nginx HTTPS proxy for Uptime Kuma
After=uptime-kuma-pod.service
Requires=uptime-kuma-pod.service
PartOf=uptime-kuma-pod.service

[Container]
Image=docker.io/library/nginx:latest
Pod=uptime-kuma.pod
Volume=/etc/pki/tls/certs/myserver.crt:/etc/ssl/certs/myserver.crt:ro,Z
Volume=/etc/pki/tls/private/myserver.key:/etc/ssl/private/myserver.key:ro,Z
Volume=/etc/containers/uptime-kuma-nginx/conf.d/default.conf:/etc/nginx/conf.d/default.conf:ro,Z

[Service]
Restart=always
RestartSec=5

[Install]
WantedBy=multi-user.target
Note: :Z tells Podman to relabel the file or directory for SELinux so the container can access it, without disabling SELinux.
3.7 Start the stack
sudo systemctl daemon-reexec
sudo systemctl start uptime-kuma-pod
If you need to restart after editing pod or container files, run:
sudo systemctl restart uptime-kuma-pod3.8 Cockpit overview
Since we installed the Cockpit Podman addon, we can now log in to Cockpit by navigating to https://<server-ip>:9090 in the browser. From there, open the “Podman containers” section to view all running pods and containers, check logs, and start, stop, or restart services without using the command line.
http://<server-ip>:9090
Conclusion
You have now installed Podman on AlmaLinux 10 with Quadlet and Cockpit. Uptime Kuma and Nginx, which provides TLS termination in a shared pod, are deployed. Quadlet is used to create the systemd units that manage these containers, ensuring they start at boot and can be monitored in Cockpit.
This approach is maintainable and reproducible. Unlike one-click dashboards like CasaOS or TrueNAS, it uses clear, versionable definitions that document your services and make redeployment straightforward. It also mirrors production-grade practices more closely than ad-hoc self-hosted Docker setups, giving you greater control, improved security through daemonless containers, and consistent, versioned deployments for easier long-term maintenance.