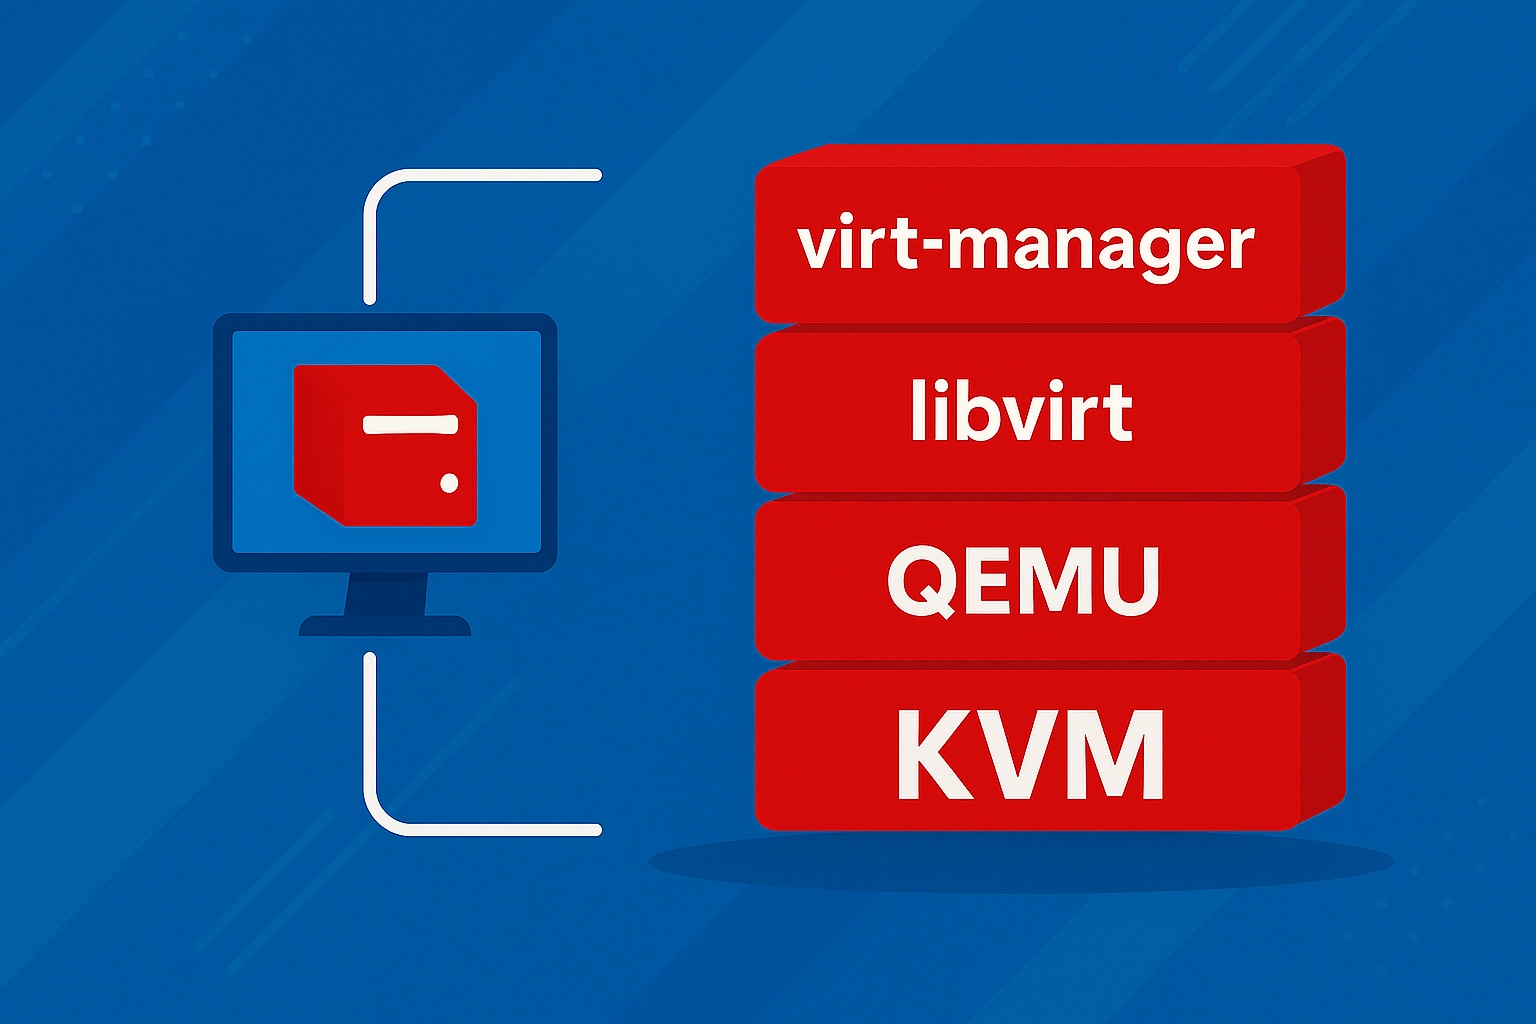
This guide walks you through setting up a Linux virtualization environment using KVM, QEMU, libvirt, and Virtual Machine Manager (virt-manager) – a stack that directly exposes and manages the KVM kernel module for hardware-accelerated virtualization on x86_64 systems with AMD-V or Intel VT-x support.
KVM (Kernel-based Virtual Machine) is the same low-level hypervisor used in enterprise-grade virtualization platforms like Proxmox VE, OpenStack Compute (nova), and Red Hat OpenShift Virtualization, though these platforms layer orchestration frameworks on top of it.
This setup gives you direct control over VM lifecycles and virtual hardware using the same building blocks, without the abstraction or overhead of large-scale orchestration layers.
While this guide focuses on setting up virtual machines in a desktop environment using Virtual Machine Manager as a graphical frontend, the same underlying stack is equally suited for headless servers, where virtual machines can be created and managed via virsh (libvirt’s command-line interface) and virt-install for unattended guest provisioning. For automation and infrastructure-as-code workflows, Ansible (using the community.libvirt collection) and Terraform (via the libvirt provider) can interact with the libvirt API to define and manage VMs declaratively.
Component Breakdown
KVM
KVM is a Linux kernel module that transforms your Linux system into a type-1 hypervisor. It leverages CPU hardware virtualization extensions (AMD-V or Intel VT-x) to execute guest code directly on the host CPU with minimal overhead. Unlike type-2 hypervisors (like VirtualBox or VMware Workstation), KVM operates at the kernel level, offering better performance, lower latency, and greater stability.
KVM is part of the mainline Linux kernel, actively maintained by the Linux Foundation and supported by major vendors like Red Hat, SUSE, and Canonical. It powers platforms such as:
- Proxmox VE – a leading open-source virtualization environment built on KVM and QEMU
- OpenStack Compute (nova) – used in private and public clouds with KVM/libvirt as the default compute driver
- Red Hat OpenShift Virtualization – Kubernetes-native virtualization layer, built on KVM via KubeVirt
QEMU (Quick Emulator)
QEMU is a user-space emulator that provides full system emulation, including CPU, memory, disks, network interfaces, and more. While QEMU can run entirely in software mode, it’s commonly paired with KVM to provide hardware-accelerated virtualization. In this configuration:
- KVM handles CPU virtualization
- QEMU handles hardware emulation and device passthrough
QEMU supports virtio paravirtualized devices for fast disk and network I/O, making it both powerful and efficient.
libvirt
libvirt is a virtualization abstraction layer and a management API. It offers a unified way to manage virtualization technologies like KVM/QEMU, Xen, and others through:
- CLI tools (virsh, virt-install).
- XML-based domain configuration.
- Remote access to hypervisors (over SSH, TCP, TLS, etc.)
libvirt is used in enterprise environments and infrastructure platforms including:
- OpenStack
- Red Hat Cockpit
- virt-manager
- Terraform (via libvirt provider)
It enables scripting, automation, and VM orchestration.
Virtual Machine Manager (virt-manager)
Virtual Machine Manager is a desktop GUI frontend for libvirt which simplifies:
- VM creation and configuration
- Snapshots
- Resource allocation (CPU, RAM, disks)
- Virtual networking
- ISO installation workflows
While not “enterprise-grade” on its own, it is extremely capable for developers, sysadmins, and home users running single-node or workstation-based virtual environments. It also supports remote libvirt hosts, making it useful in lightweight server management setups.
Installation
Enable SVM/VT-x in BIOS
Before you can run virtual machines with KVM, you need to ensure that hardware virtualization support is enabled in your BIOS or UEFI firmware.
Modern CPUs include virtualization extensions that are required for KVM to function:
- AMD CPUs: AMD SVM (Secure Virtual Machine), typically listed as SVM Mode
- Intel CPUs: Intel VT-x (often labeled Intel (VMX) Virtualization Technology)
These extensions allow the hypervisor (KVM) to run guest code directly on the physical CPU with near-native performance, instead of relying on software emulation. Without them, KVM cannot initialize and QEMU will fall back to slow, fully emulated mode.
On most systems, virtualization is disabled by default, so you need to enable it manually.
On ASUS motherboards:
- Boot into BIOS
- Navigate to: Advanced > CPU Configuration > SVM Mode/Intel (VMX)
- Set it to: Enabled
- Save and reboot
Install Virtualization Tools
To set up KVM-based virtualization, install the @virtualization group, which includes all necessary packages:
qemu-kvm– QEMU with KVM accelerationlibvirt– the virtualization API and daemonvirt-manager– graphical management frontend- Supporting tools like
virt-install,dnsmasq, andbridge-utils
sudo dnf install @virtualizationEnable and Configure the libvirt Daemon
Once the virtualization packages are installed, you need to enable the libvirtd service, which is responsible for managing the libvirt API, virtual machines, networks, and storage pools.
Enable and Start the libvirt Daemon:
sudo systemctl enable --now libvirtdBy default, only users in the libvirt group can interact with the daemon (e.g., manage VMs from virt-manager without root).
Add Your User to the libvirt Group:
sudo usermod -aG libvirt $USERReboot to apply group membership changes:
sudo rebootConfigure a Network Bridge
By default, libvirt sets up a NAT-based virtual network, which isolates your virtual machines from the host’s LAN. While this works for general outbound traffic, it limits inbound access – for example, you can’t easily SSH into VMs from other devices or expose services to your local network.
To allow VMs to receive IP addresses directly from your router and behave like physical devices on your LAN, you need to create a network bridge.
With a bridged setup:
- VMs get their own IP addresses via DHCP from your router
- You can SSH, ping, or access web services running on the VM from any other machine on your LAN
- No need for port forwarding or NAT rules
First, determine the name of your physical network interface:
nmcli device statusLook for the line with type ethernet and state connected. The device name will typically start with enp, eno, or eth.
Create the Bridge and Enable Auto Connect:
sudo nmcli connection add type bridge autoconnect yes con-name br0 ifname br0
sudo nmcli connection add type ethernet autoconnect yes con-name br0-slave ifname enp7s0 master br0
Replace enp7s0 with the name of your actual interface.
Disable the old network connection so it doesn’t interfere:
sudo nmcli connection modify "Wired connection 1" autoconnect no
sudo nmcli connection down "Wired connection 1"
Replace "Wired connection 1" with the name of your existing connection if it differs. You can find it via nmcli connection show.
Then bring up the new bridge:
sudo nmcli connection up br0This will bring up the bridge and automatically request a new IP via DHCP. Give it a moment to optain the IP Address.
Verify IP Address:
ip addr show br0You should see an IP address assigned to br0. This confirms that your bridge is active and has replaced your original NIC.
Create and Configure a New Virtual Machine
With your virtualization stack and network bridge in place, you can now launch Virtual Machine Manager and create your first VM.
Create a Storage Pool for ISO Images
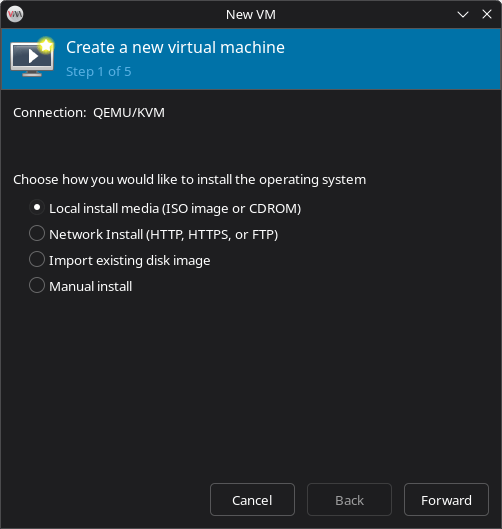
- Launch Virtual Machine Manager
- From the top menu, go to: File > New Virtual Machine
- In the wizard, select: Local install media (ISO image or CDROM) > click Forward
- Click Browse > then click the + button to create a new storage pool
- In the dialog:
- Click Browse Local and select the folder where your ISO files are stored
- Click Open
- Give the pool a name, e.g., linux
- Click Finish

- Back in the Volumes list, select your desired ISO (e.g. rhel9.5.iso) and click Choose Volume
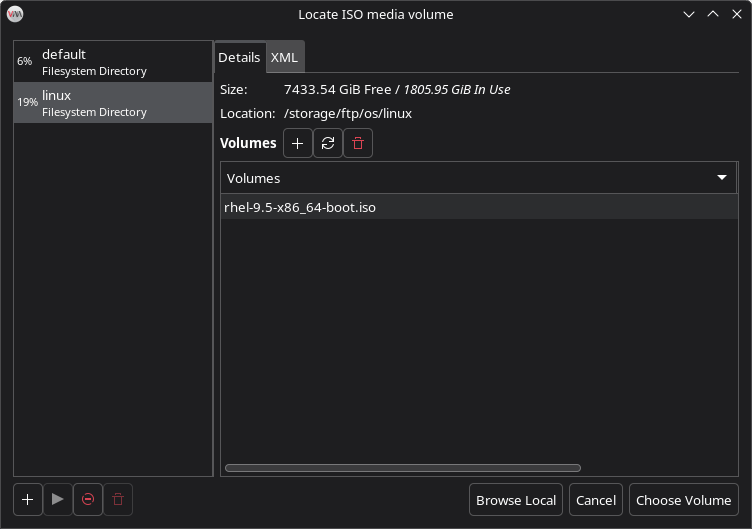
- Click Forward
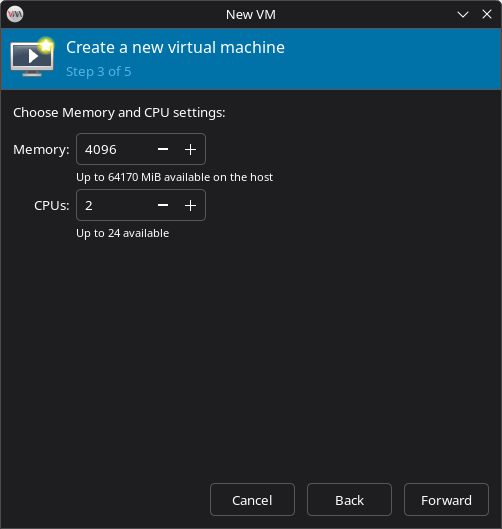
Choose Memory and CPU Settings
- Set the resources for the virtual machine:
- Memory: 4096 MB (4 GB)
- CPUs: 2 virtual CPUs
- Click Forward
Assign Storage to the Virtual Machine
You’ll now create a virtual disk for the VM.
By default, VM images are stored in:
/var/lib/libvirt/images/If you prefer to use another drive or custom directory, you can create a custom storage pool:
- Click Select or create custom storage > click Manage
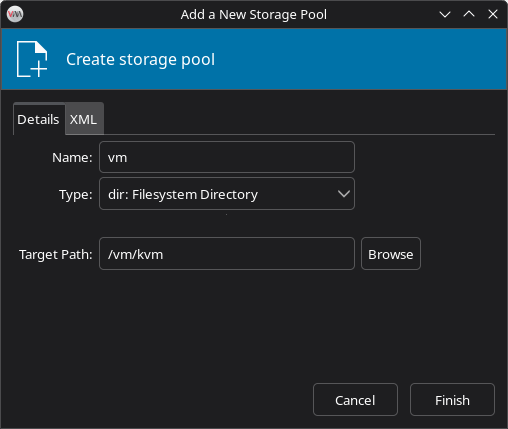
- Click the + icon to create a new storage pool
- Fill out the form:
- Name: vm
- Target Path: e.g.,
/vm/kvm/(on another mounted drive)
- Click Open to confirm the target path
- Click Finish
Create a Volume for the VM:
- In the Volumes list, click the + icon
- Fill in:
- Name: rhel9.5
- Format: qcow2
- Capacity: 20 GiB
- Click Finish, then select the new volume and click Choose Volume

- Click Forward to proceed
Select Network Configuration
Expand Network selection
- Ensure “Bridge device…” is selected
- Confirm that Device name is set to your bridge (e.g.
br0)
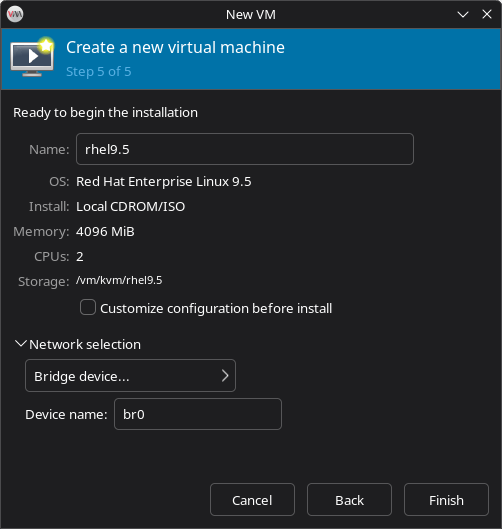
This ensures the VM gets its own IP address from your LAN and is accessible like any physical machine.
Click Finish to create the VM.
That’s it! Your virtual machine is now created and listed in Virtual Machine Manager. From here, you can start the VM and proceed with OS installation.