Infomaniak’s Managed Kubernetes service, officially launched in April 2025, makes it possible to set up Kubernetes clusters on Infomaniak Cloud in just a few minutes. Whether using their web-based console, API, Terraform, or OpenTofu, you can deploy a fully functional cluster easily and securely.
Infomaniak is a Switzerland-based cloud provider known for its strong commitment to privacy, GDPR compliance, and data protection. Their infrastructure is built on top of OpenStack – an open-source cloud infrastructure platform that allows flexible, scalable, and vendor-neutral management of compute, storage, and networking resources. Thanks to OpenStack’s modular architecture, Infomaniak retains full ownership and control of their cloud infrastructure, ensuring high reliability, transparent pricing, and strict data sovereignty under Swiss jurisdiction.
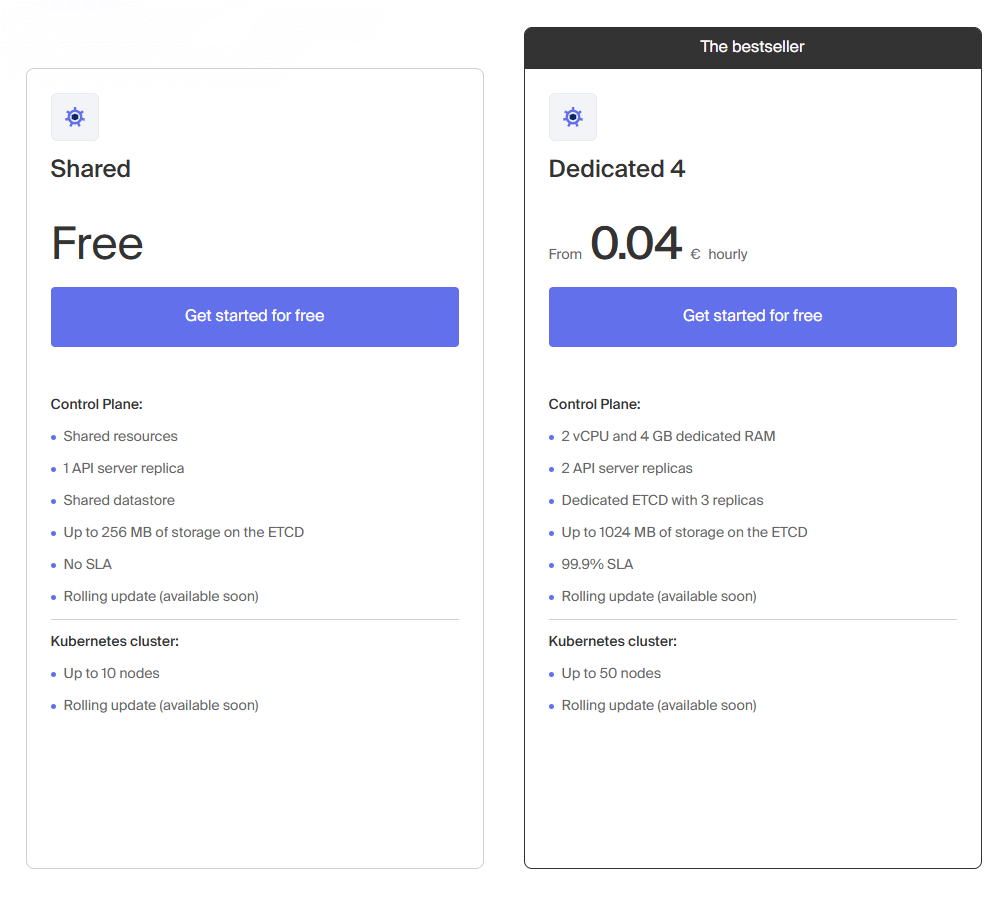
Infomaniak offers a free shared Kubernetes plan to make it easy for users to explore the service. The free plan includes shared control plane resources, one API server replica, and a shared datastore, supporting up to 10 nodes. While it does not come with an SLA, it is ideal for testing and familiarizing yourself with their environment. Additionally, when you create a new account, Infomaniak provides 300€ in cloud credits valid for three months, which can be used to deploy both shared and dedicated Kubernetes clusters, as well as other cloud services like VPS, object storage, databases, and AI tools.
Choosing Infomaniak for Kubernetes has some unique advantages, especially for privacy-focused users and European companies. Since Infomaniak operates entirely under Swiss jurisdiction, your data benefits from some of the strictest privacy and data protection laws in the world. Running Kubernetes workloads on a sovereign, GDPR-compliant cloud like Infomaniak ensures that sensitive information remains protected and fully under your control, without being subject to foreign data access regulations.
I’ve been using Infomaniak’s services for a while and was excited to try out their new managed Kubernetes offering. In this post, I’ll walk you through how to quickly set up a Kubernetes cluster on Infomaniak Cloud and highlight a few tips along the way.
Table of Contents
- Architecture
- Networking
- Setup
- Deploy and Configure Services
- Secure and Route Traffic
- Configure Uptime Kuma
- Conclusion
Architecture – Overview
For simplicity, we will use PowerShell, and the kubectl CLI to manage Kubernetes clusters, as it provides a more straightforward and hands-on way to get started compared to infrastructure-as-code (IaC) tools like Terraform.
In this guide, we will deploy a Uptime Kuma container, expose it securely over HTTPS using the NGINX Ingress Controller, and configure automatic SSL certificates with Let’s Encrypt through cert-manager.
Uptime Kuma is a lightweight yet powerful self-hosted monitoring tool that allows you to monitor servers, websites, network services, and SSL certificates with ease. It features a sleek and modern web interface for setting up monitors, viewing uptime statistics, and configuring notifications.
I will be using Cloudflare as the DNS provider, but you can use others as long as they offer an API to manage DNS records.
First, I created an architecture diagram to get a clear picture of our setup and to follow OpenStack and Kubernetes best practices and naming conventions.
We will create an organization in Infomaniak called CompanyName (replace this with your preferred organization name). Inside this organization, we will create a project called cloud-1, where we will set up our Kubernetes cluster named alpha-cluster-k8s.
For projects, clusters, nodes, services, and other resources, we will consistently use lowercase letters and hyphens (-) as separators, following OpenStack and Kubernetes naming conventions.
Architecture – Diagram
Architecture diagram of Kubernetes deployment on Infomaniak Cloud.
Infomaniak Cloud
  ↓
Organization: CompanyName
  ↓
Project: cloud-1
  ↓
Kubernetes Cluster: alpha-cluster-k8s
   ├─ Instance Group: alpha-nodes
   │   └─ Node: alpha-pck-1
   ├─ Namespace: uptime-kuma
   │   ├─ Pod: uptime-kuma
   │   ├─ Service: uptime-kuma-service
   │   ├─ Ingress: uptime-kuma-ingress
   │   └─ Certificate: uptime-kuma-tls (references ClusterIssuer)
   ├─ Namespace: ingress-nginx
   │   └─ Pod: ingress-nginx-controller
   ├─ Namespace: cert-manager
   │   ├─ Pod: cert-manager
   │   ├─ Pod: cert-manager-webhook
   │   └─ Secret: alpha-api-token-secret (holds Cloudflare API Token)
   └─ Cluster-wide Resource: ClusterIssuer: letsencrypt-dns (references alpha-api-token-secret in the cert-manager namespace)
Networking – IP
When exposing services to the internet or accessing external APIs from inside your cluster, it’s important to understand how IPs behave in OpenStack-based Kubernetes environments like Infomaniak’s.
Two specific IP types are critical for managing public access and outbound connectivity:
- External IP (Inbound Traffic)
- Egress IP (Outbound Traffic)
Let’s break them down.
External IP (Inbound Traffic)
When you deploy an NGINX Ingress controller as a LoadBalancer service, a floating IP is automatically assigned. Despite the name, a floating IP is stable. It won’t change unless you explicitly delete the service or release the IP. This is managed by OpenStack
In practice, you rarely – if ever, redeploy your Ingress controller. It’s a shared component of your cluster that sits in front of your apps. That means redeploying an application (like Uptime Kuma), or even your full app stack, won’t affect the Ingress controller or its external IP. Your service remains reachable at the same IP as long as the LoadBalancer service is in place.
If you ever need to delete and recreate the ingress-nginx-controller Service manually, you can retain the same floating IP by applying a service definition like this:
apiVersion: v1
kind: Service
metadata:
  name: ingress-nginx-controller
  namespace: ingress-nginx
  labels:
    app.kubernetes.io/component: controller
    app.kubernetes.io/instance: ingress-nginx
    app.kubernetes.io/name: ingress-nginx
    app.kubernetes.io/part-of: ingress-nginx
    app.kubernetes.io/version: 1.12.2
  annotations:
    loadbalancer.openstack.org/keep-floatingip: "true"
spec:
  type: LoadBalancer
  loadBalancerIP: 195.15.250.50 # Replace with your actual public floating IP
  externalTrafficPolicy: Local
  ipFamilies:
    - IPv4
  ipFamilyPolicy: SingleStack
  ports:
    - name: http
      port: 80
      protocol: TCP
      targetPort: http
      appProtocol: http
    - name: https
      port: 443
      protocol: TCP
      targetPort: https
      appProtocol: https
  selector:
    app.kubernetes.io/component: controller
    app.kubernetes.io/instance: ingress-nginx
    app.kubernetes.io/name: ingress-nginx
The keep-floatingip annotation ensures the same IP is reused if it’s still available in the OpenStack floating IP pool. If another tenant claims the IP after deletion, it cannot be recovered.
Before recreating the LoadBalancer service (e.g., the NGINX Ingress controller), use Infomaniak’s Horizon dashboard or kubectl to retrieve the current floating IP:
kubectl get svc -n ingress-nginx ingress-nginx-controller -o jsonpath='{.status.loadBalancer.ingress[0].ip}'However, under normal circumstances, like redeploying your application or restarting pods, your external IP won’t change, as long as the LoadBalancer service remains intact.
Egress IP (Outbound Traffic)
When your pods connect to external services (for example, calling the Cloudflare API), they go through the cluster’s NAT gateway. The public IP used for these outbound connections (the NAT IP) is also a floating IP, but unlike your external IP, it’s not tied to any Kubernetes LoadBalancer service.
In OpenStack-based environments, outbound traffic is typically routed through a Neutron router with SNAT enabled. That router’s external interface is assigned a floating IP, which becomes the NAT IP used by your cluster. In managed Kubernetes setups like Infomaniak’s, this is handled behind the scenes, outside of what you can manage or configure directly within the cluster.
While you can’t assign or reserve the NAT IP through Kubernetes manifests, it remains fixed under normal operation because it’s tied to a persistent infrastructure resource in the provider’s OpenStack network layer. This makes it safe to use in IP-restricted scenarios, such as securing a Cloudflare API token.
1. Set Up Infomaniak Public Cloud
- Go to Infomaniak’s “Managed Kubernetes service” page to get started for free.
- Scroll down and select the “Free” plan (Shared Control Plane).
- Click “Get started for free“.
- Name the Public Cloud: “CompanyName“.
- Click “Continue without Swiss Backup“.
- Complete identity verification using the Infomaniak Check app (upload ID card and selfie).
- Wait for verification, and then continue to next step.
2. Create a New Project
- Go to Cloud Computing > Kubernetes > “Creating a Kubernetes cluster“.
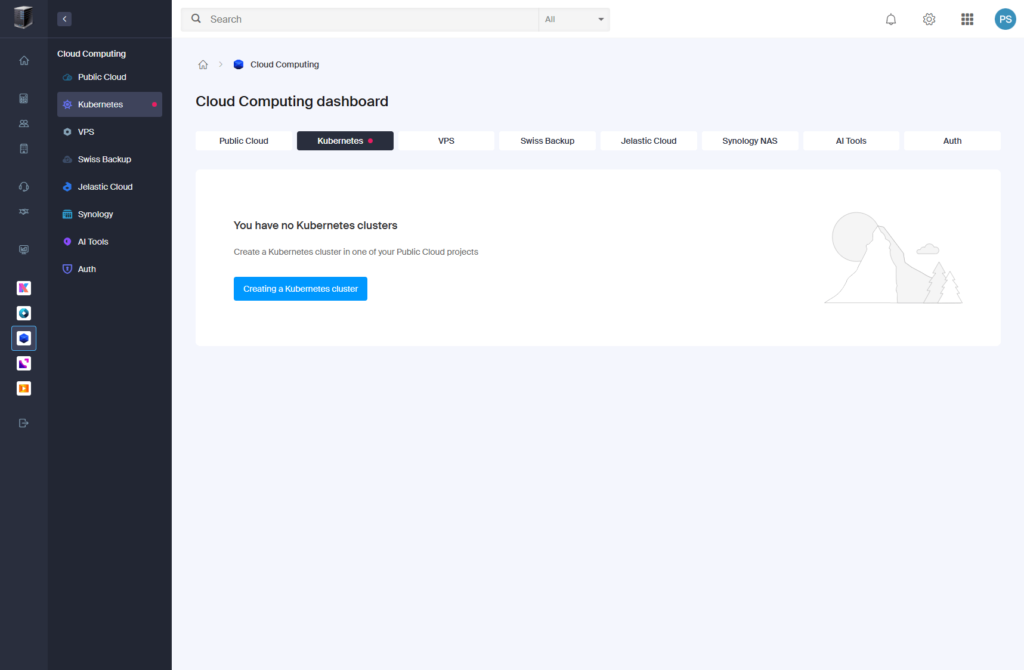
- Select Public Cloud: “CompanyName“.
- In “Project”, select “Create a new project“.
- Under “Choice of name”, set “Project name” to “cloud-1“. It will host your first Kubernetes cluster and related resources for your organization (CompanyName), with “1” designating the first environment, such as production.
- Click “Continue“.
- Create an OpenStack user:
- Keep default username: “PCU-XXXX”.
- Click “Create a password for the OpenStack user now“.
- Set a strong password and copy the username/password securely.
Click “Create“.
- Click “View my projects” to see the “cloud-1” project.
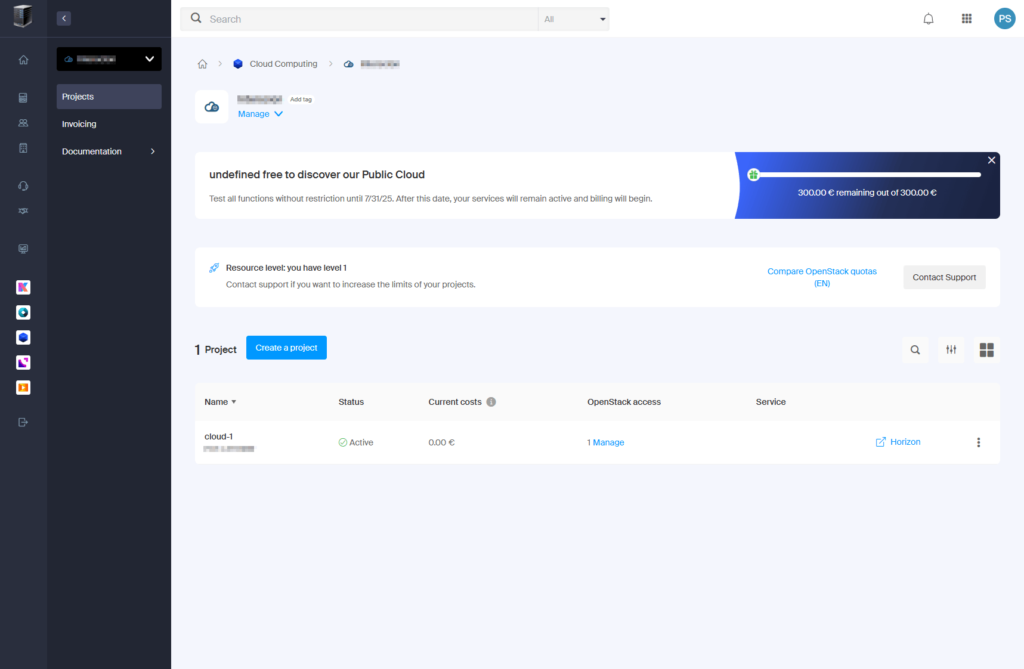
3. Create a Kubernetes Cluster
- In the “cloud-1” project, click “Manage“.
- Under “Kubernetes services”, click “Create a cluster“. This will create a Kubernetes cluster within the Infomaniak project.
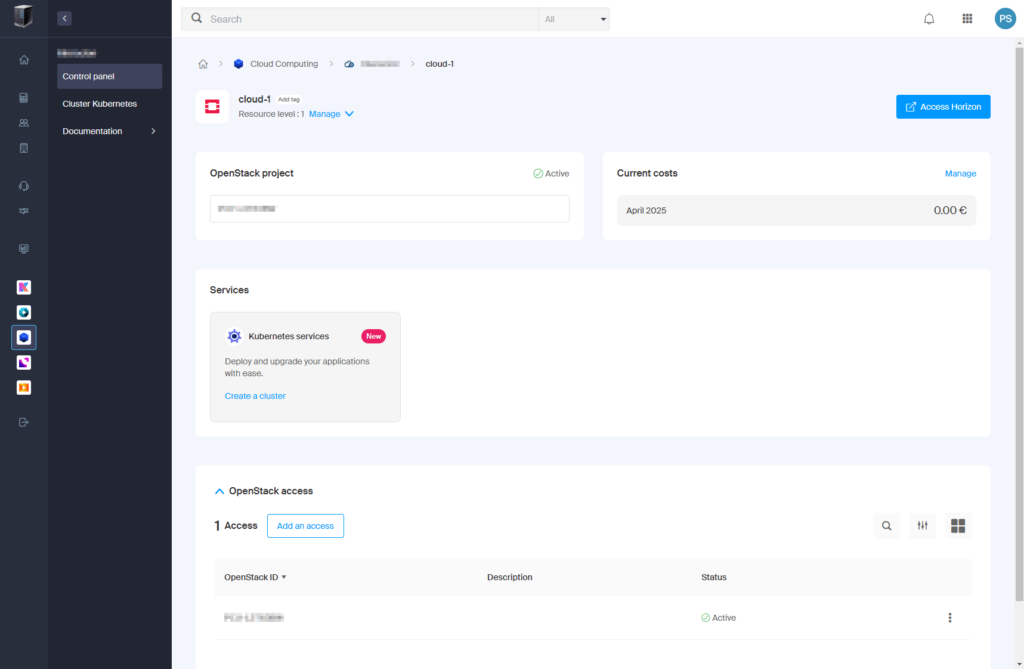
- Under “Cluster Shared”, click “Select” (free plan).
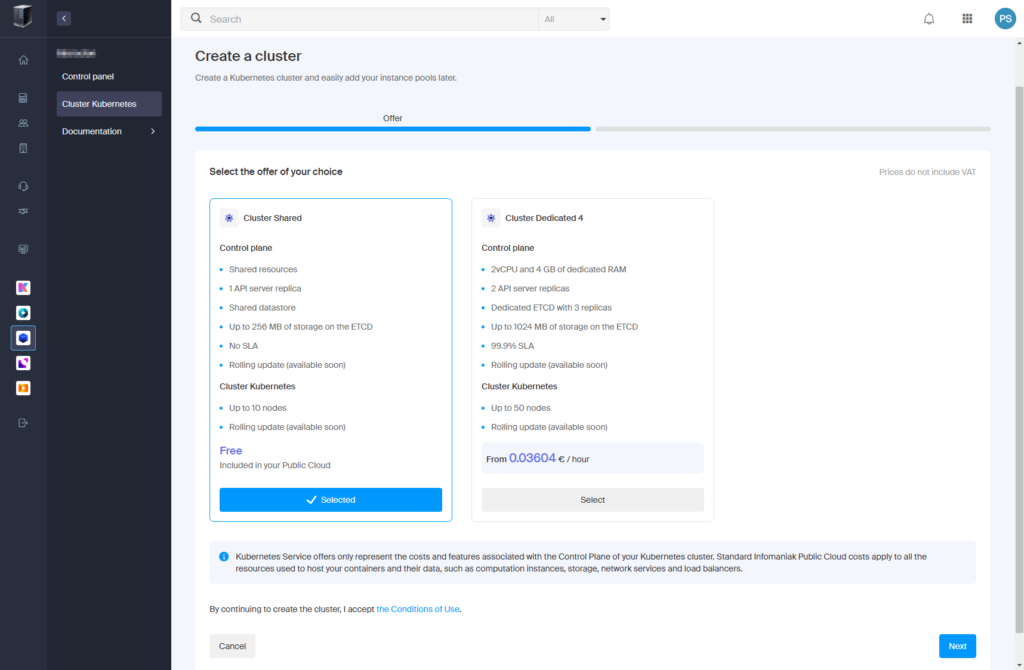
- Click “Next“.
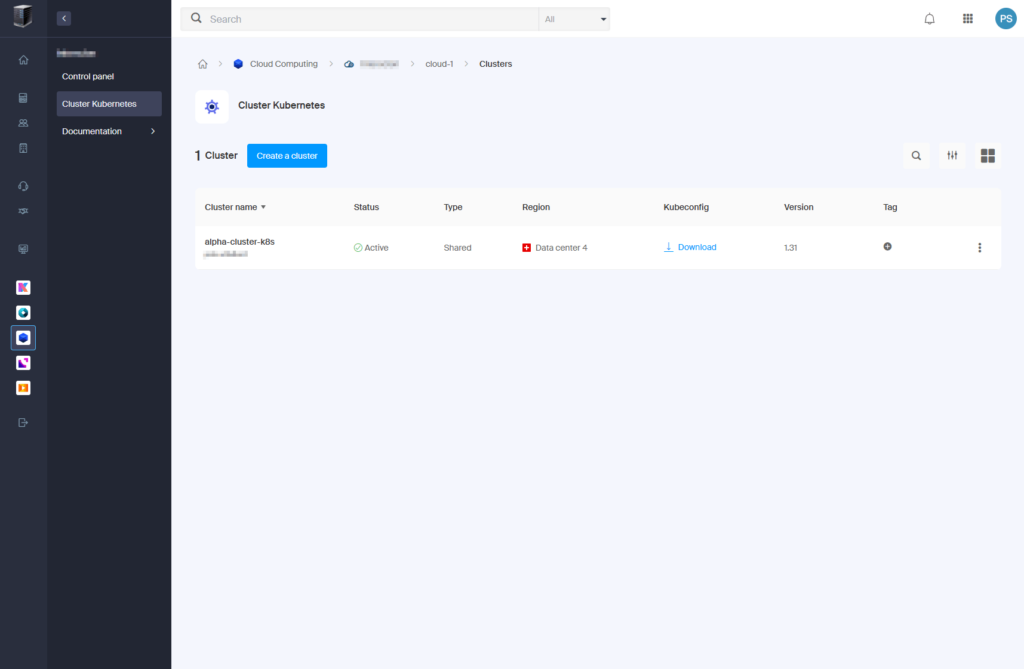
- Configure the cluster:
- Cluster name: “alpha-cluster-k8s“
- Region: “Data Center 4“
- Kubernetes version: “1.31“
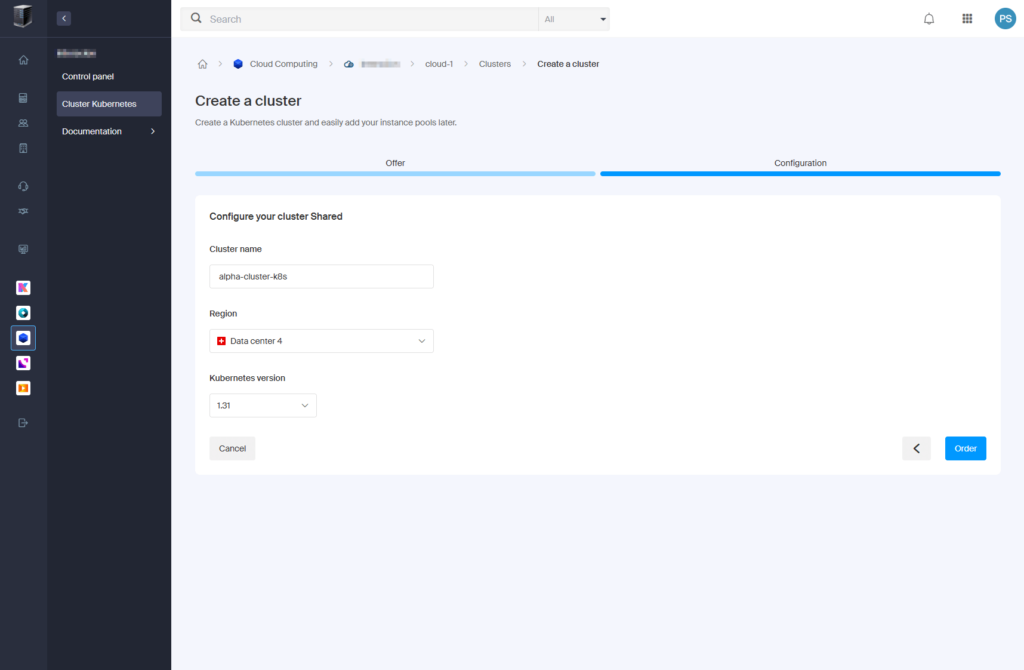
- Click “Order“.
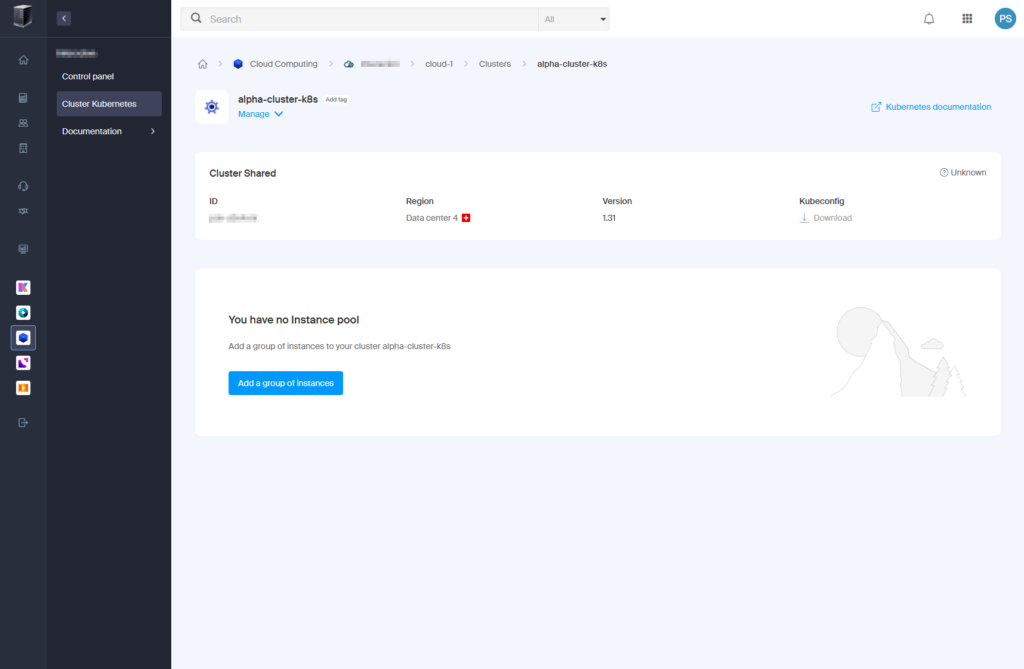
- Wait for cluster creation to complete.
4. Add a Group of Instances (Nodes)
- Once the cluster is ready, click “Add a group of instances“.
- Configure the instance group:
- Instance group name: “alpha-nodes“
- Availability zone: “az-1“
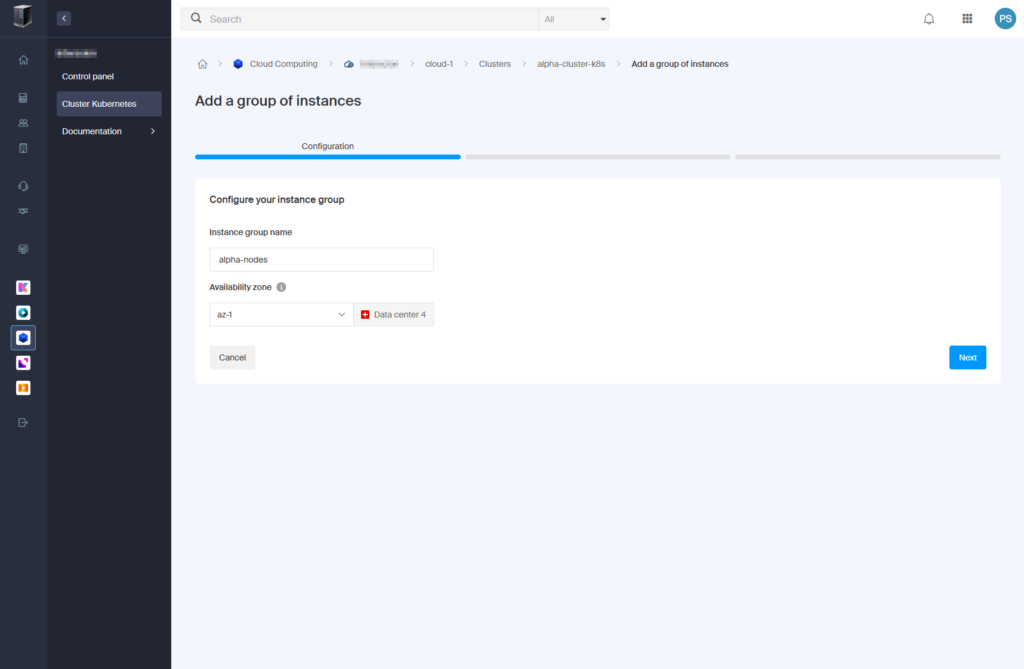
- Click “Next“.
- Select instance type:
Choose: “a1-ram2-disk20-perf1” (1 vCPU, 2 GB RAM, 20 GB storage, 0.00577 €/hour).
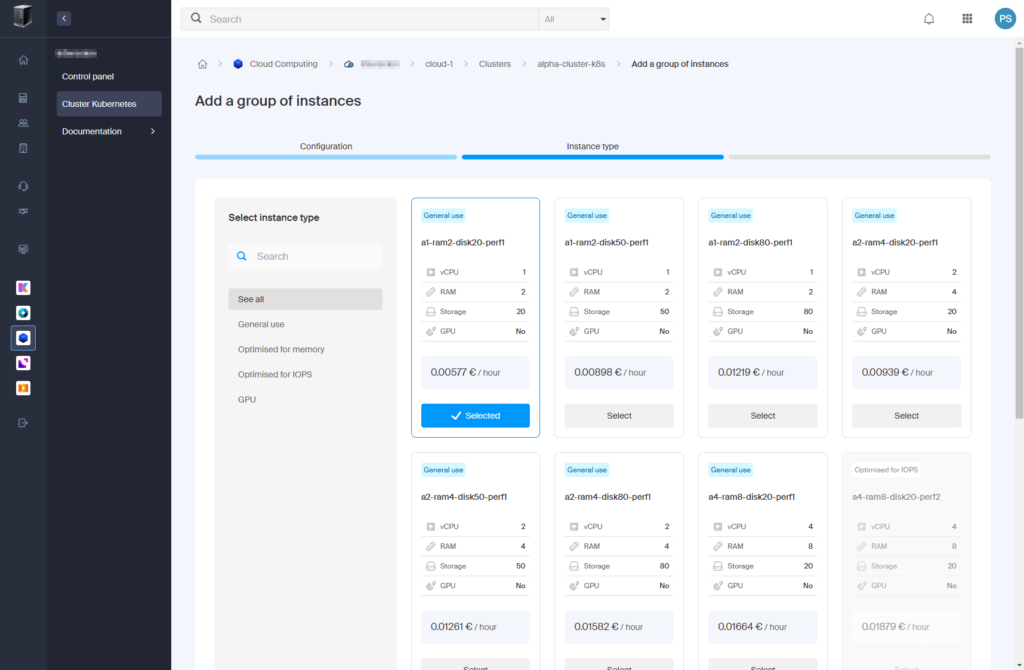
- Click “Select” > “Next“.
- Set up instances:
- Instance prefix: “alpha“
- Instance management: “Manual“
- Number of instances: “1“
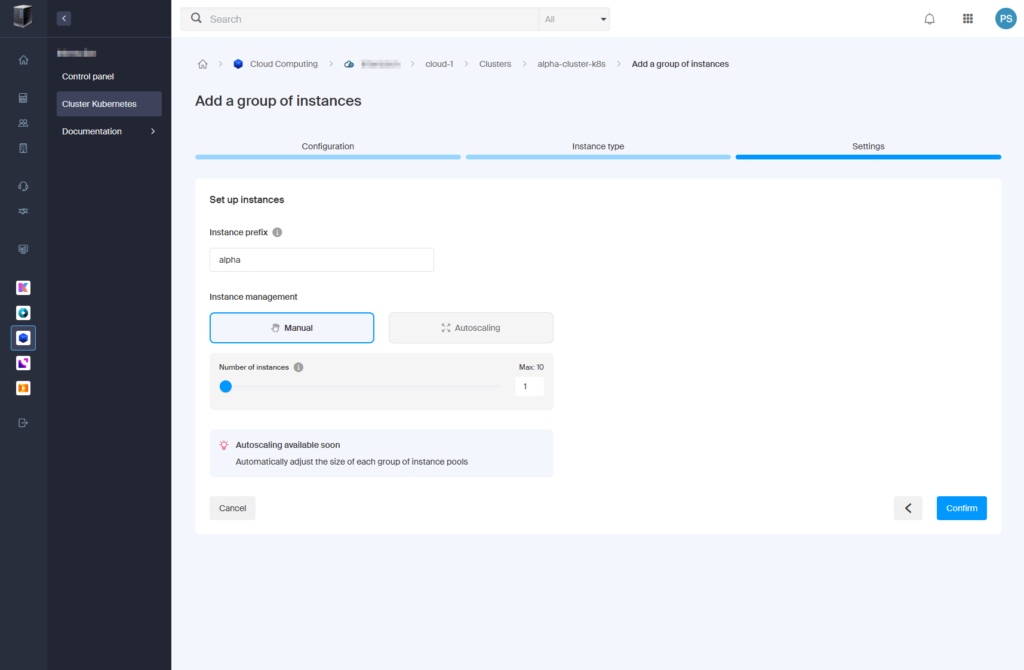
- Click “Confirm“.
- Wait for the instance group to be created.
5. Set Up kubectl on Windows
- Create a directory for
kubectl:
mkdir C:\kubectl- Download
kubectlversion 1.32.0 (compatible with cluster version 1.31):
curl.exe -LO "https://dl.k8s.io/release/v1.32.0/bin/windows/amd64/kubectl.exe"- Add
C:\kubectlto the system PATH:
• Open “Edit the system environment variables“.
• Under “System Variables”, edit “Path”, addC:\kubectl.
• Close and reopen PowerShell to apply the change. - Verify
kubectlinstallation in PowerShell:
kubectl version --clientOutput:
Client Version: v1.32.06. Configure Kubeconfig
- In the Infomaniak dashboard, go to “alpha-cluster-k8s” > “Kubeconfig“.
- Click “Download” to get the Kubeconfig file (named
pck-XXXX-kubeconfig).
- Create the directory for Kubeconfig:
mkdir C:\Users\<your-username>\.kube- Rename and move the file:
ren C:\Users\<your-username>\.kube\pck-XXXX-kubeconfig config- Test the connection:
kubectl get nodes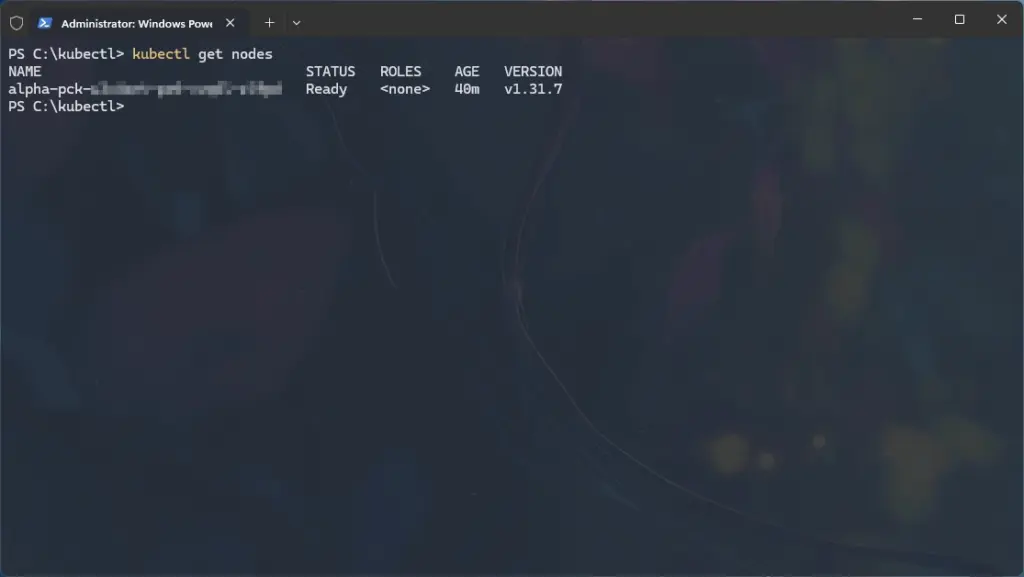
7. Create a Namespace for Uptime Kuma
- Create a dedicated namespace for Uptime Kuma:
kubectl create namespace uptime-kumaOutput:
namespace/uptime-kuma created8. Deploy Uptime Kuma in the New Namespace
- Create a file named
uptime-kuma.yamlin C:\kubectl with:
apiVersion: apps/v1
kind: Deployment
metadata:
  name: uptime-kuma
  namespace: uptime-kuma
spec:
  replicas: 1
  selector:
    matchLabels:
      app: uptime-kuma
  template:
    metadata:
      labels:
        app: uptime-kuma
    spec:
      containers:
      - name: uptime-kuma
        image: louislam/uptime-kuma:latest
        ports:
        - containerPort: 3001
        volumeMounts:
        - name: data
          mountPath: /app/data
      volumes:
      - name: data
        emptyDir: {}
---
apiVersion: v1
kind: Service
metadata:
  name: uptime-kuma-service
  namespace: uptime-kuma
spec:
  selector:
    app: uptime-kuma
  ports:
  - protocol: TCP
    port: 80
    targetPort: 3001
type: ClusterIP- Apply the file:
kubectl apply -f uptime-kuma.yaml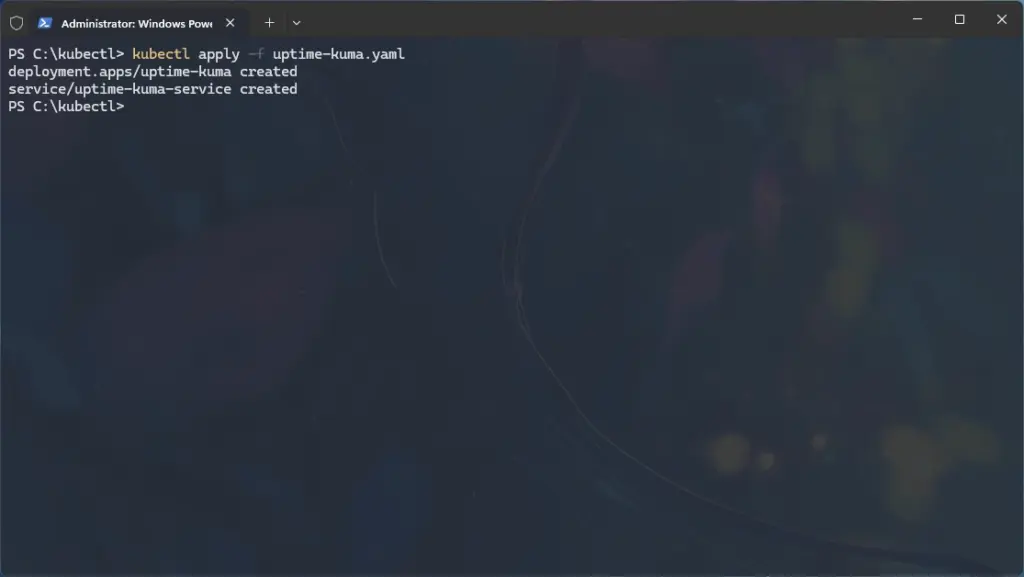
9. Install NGINX Ingress Controller and Retrieve External IP
- Install the NGINX Ingress controller:
kubectl apply -f https://raw.githubusercontent.com/kubernetes/ingress-nginx/main/deploy/static/provider/cloud/deploy.yaml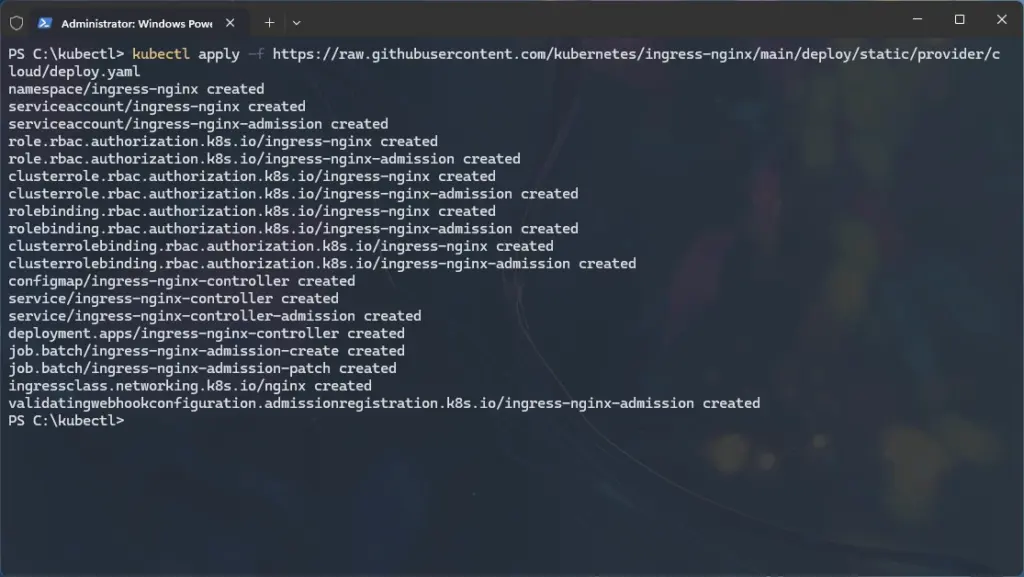
- Check the pods in the
ingress-nginxnamespace (created automatically by the manifest):
kubectl get pods -n ingress-nginx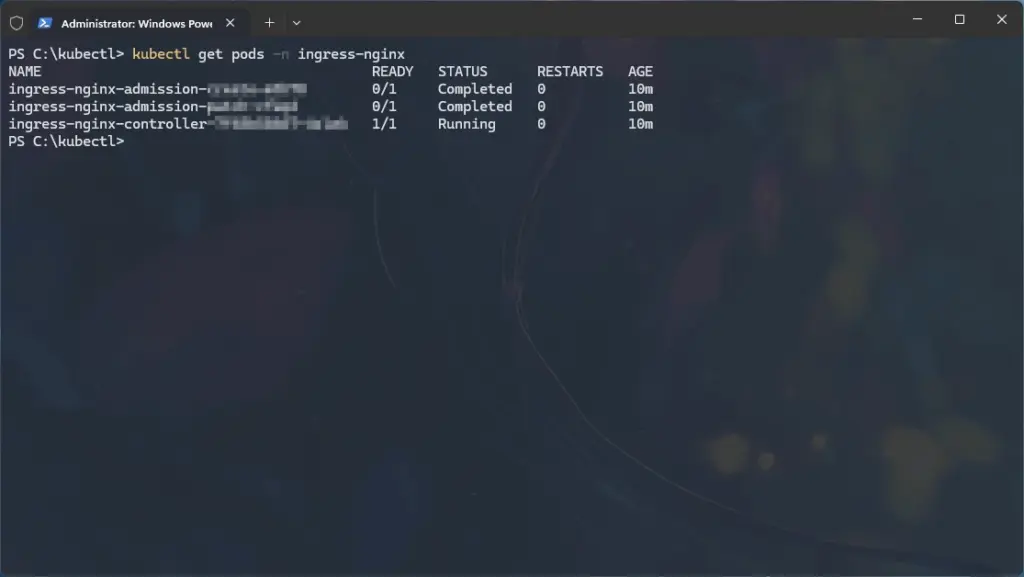
- Retrieve the external IP allocated to the Ingress controller:
kubectl get svc -n ingress-nginx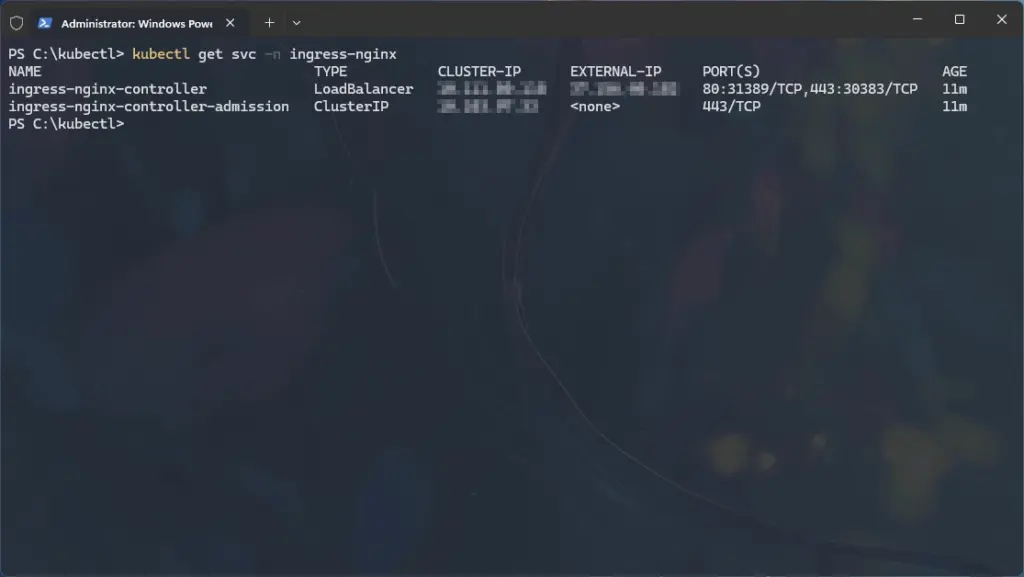
- Take note of your external IP (e.g.,
10.0.0.1), as you’ll need it in the next step.
10. Set Up DNS for Uptime Kuma
- In Cloudflare, go to DNS > Records for
domain.com. - Add an A record using the external IP retrieved in the previous step:
- Type: A
- Name: kuma
- IPv4 address: <external-ip> (from Step 9)
- Proxy status: Proxied (orange cloud)
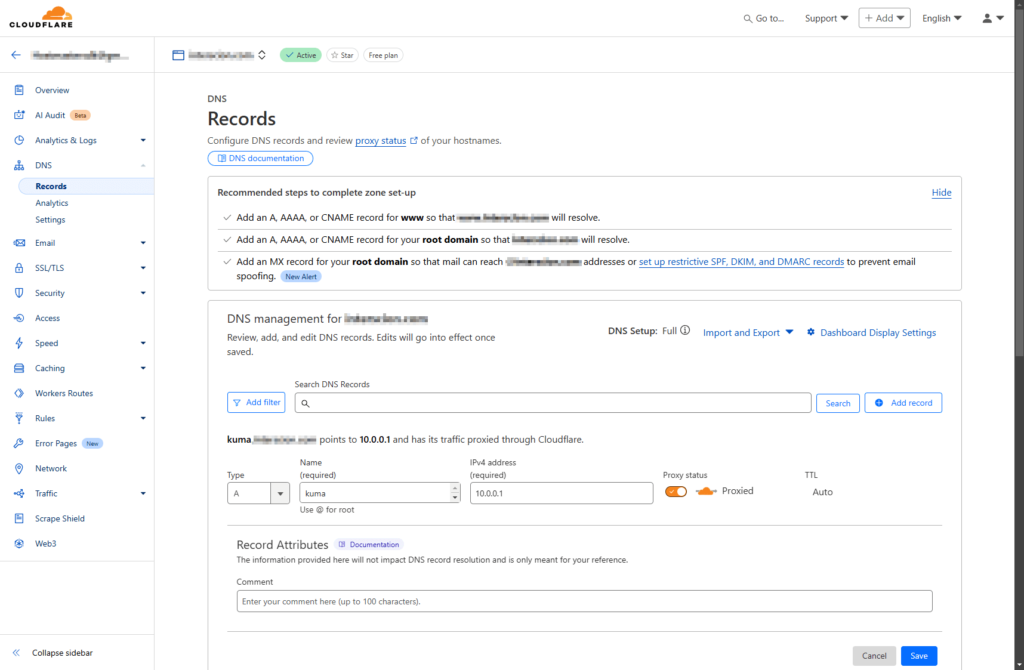
- Click “Save“.
11. Create a Cloudflare API Token for Cert-Manager
- In Cloudflare, go to My Profile > API Tokens.
- Click “Create Token” > Use “Edit zone DNS” template.
- Configure the token:
- Token name: “alpha-api-token“
- Permissions: Zone > DNS > Edit
- Zone Resources: Include > Specific Zone >
domain.com
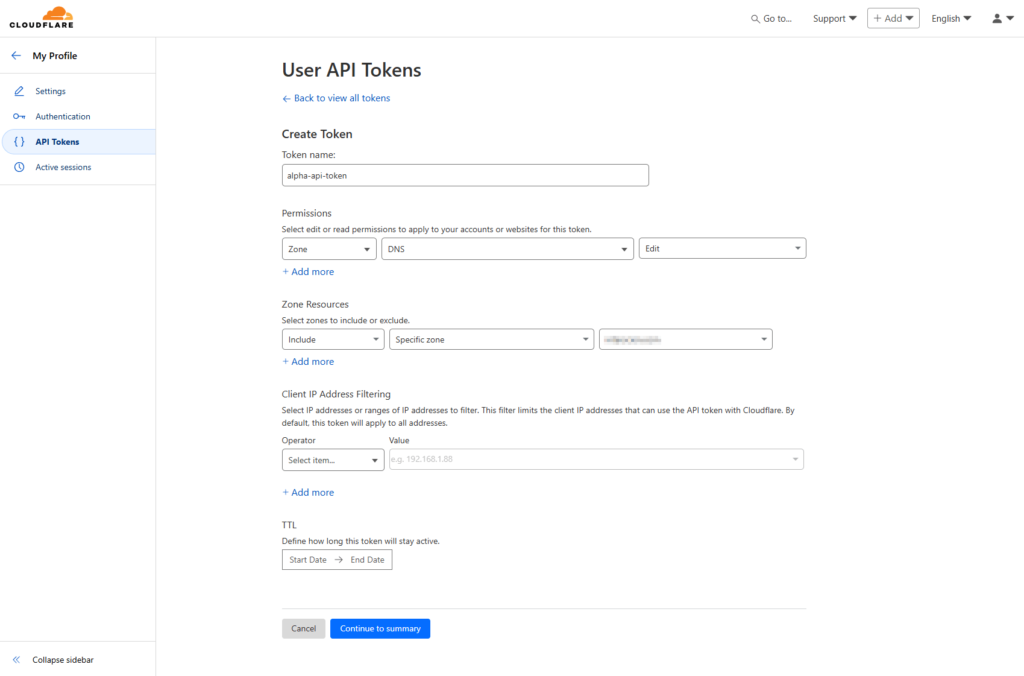
- Click “Continue to summary” > “Create Token”.
- Copy the User API Token and save it for step 13.
12. Install Cert-Manager
- Install cert-manager:
kubectl apply -f https://github.com/cert-manager/cert-manager/releases/download/v1.15.1/cert-manager.yaml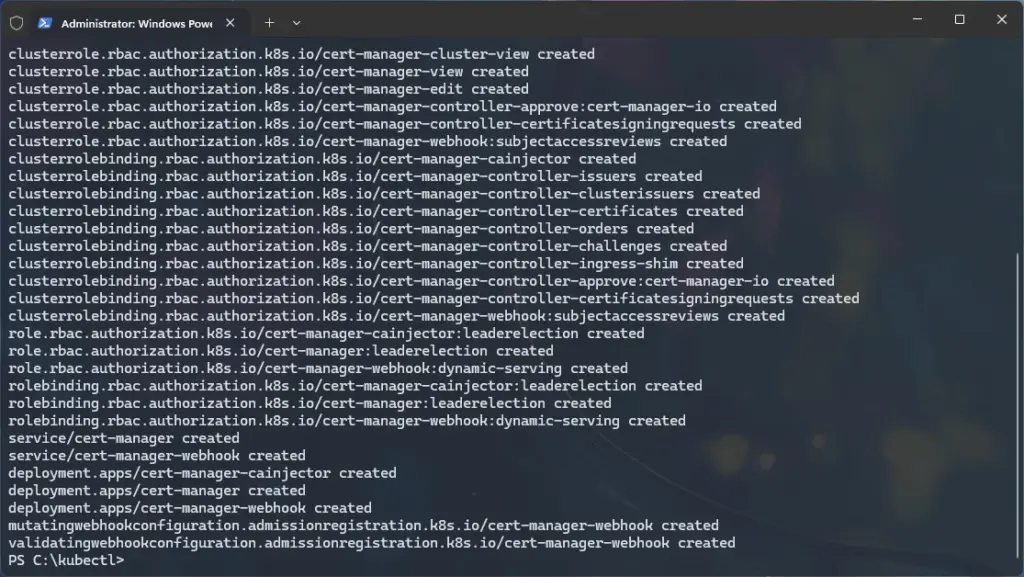
- Check the pods in the
cert-managernamespace (created automatically by the manifest):
kubectl get pods -n cert-manager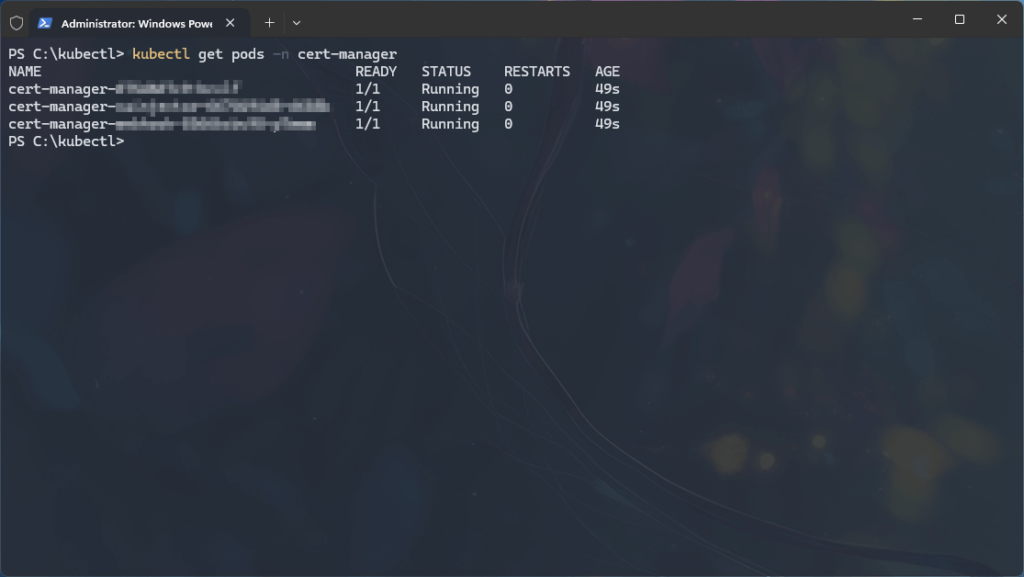
13. Configure Cert-Manager with Cloudflare API Token
- Create a file named
cloudflare-alpha-api-token.yamlin C:\kubectl with:
apiVersion: v1
kind: Secret
metadata:
  name: alpha-api-token-secret
  namespace: cert-manager
type: Opaque
stringData:
api-token: YOUR_CLOUDFLARE_API_TOKEN- Apply the secret:
kubectl apply -f cloudflare-alpha-api-token.yamlOutput:
secret/alpha-api-token-secret created14. Create a ClusterIssuer for Let’s Encrypt
- Create a file named
letsencrypt-clusterissuer.yamlin C:\kubectl with the following (change email and dnsZones to your actual values):
apiVersion: cert-manager.io/v1
kind: ClusterIssuer
metadata:
  name: letsencrypt-dns
spec:
  acme:
    server: https://acme-v02.api.letsencrypt.org/directory
    email: [email protected]
    privateKeySecretRef:
      name: letsencrypt-dns-private-key
    solvers:
    - dns01:
        cloudflare:
          apiTokenSecretRef:
            name: alpha-api-token-secret
            key: api-token
      selector:
        dnsZones:
- "domain.com"- Apply the ClusterIssuer:
kubectl apply -f letsencrypt-clusterissuer.yamlOutput:
clusterissuer.cert-manager.io/letsencrypt-dns created15. Create the Ingress for Uptime Kuma
In this step, we’ll set up an Ingress for Uptime Kuma, which acts like a traffic director for our Kubernetes cluster. Think of an Ingress as a virtual host (vhost) in a traditional web server like Apache or Nginx – it routes incoming traffic to the right service based on the domain name (e.g., kuma.domain.com). Here, the Ingress will route requests to our Uptime Kuma Service. Additionally, the Ingress is configured to automatically create an SSL certificate using cert-manager (via the letsencrypt-dns ClusterIssuer), securing our site with HTTPS.
- Create a file named
uptime-kuma-ingress.yamlin C:\kubectl with the following, and change kuma.domain.com to your actual domain:
apiVersion: networking.k8s.io/v1
kind: Ingress
metadata:
  name: uptime-kuma-ingress
  namespace: uptime-kuma
  annotations:
    cert-manager.io/cluster-issuer: letsencrypt-dns
    nginx.ingress.kubernetes.io/force-ssl-redirect: "true"
spec:
  ingressClassName: nginx
  tls:
  - hosts:
    - kuma.domain.com
    secretName: uptime-kuma-tls
  rules:
  - host: kuma.domain.com
    http:
      paths:
      - path: /
        pathType: Prefix
        backend:
          service:
            name: uptime-kuma-service
            port:
number: 80- Apply the Ingress:
kubectl apply -f uptime-kuma-ingress.yamlOutput:
ingress.networking.k8s.io/uptime-kuma-ingress created16. Test HTTPS Access
- Wait for cert-manager to issue the certificate (this may take a few minutes).
- Check certificate status:
kubectl describe certificate uptime-kuma-tls -n uptime-kuma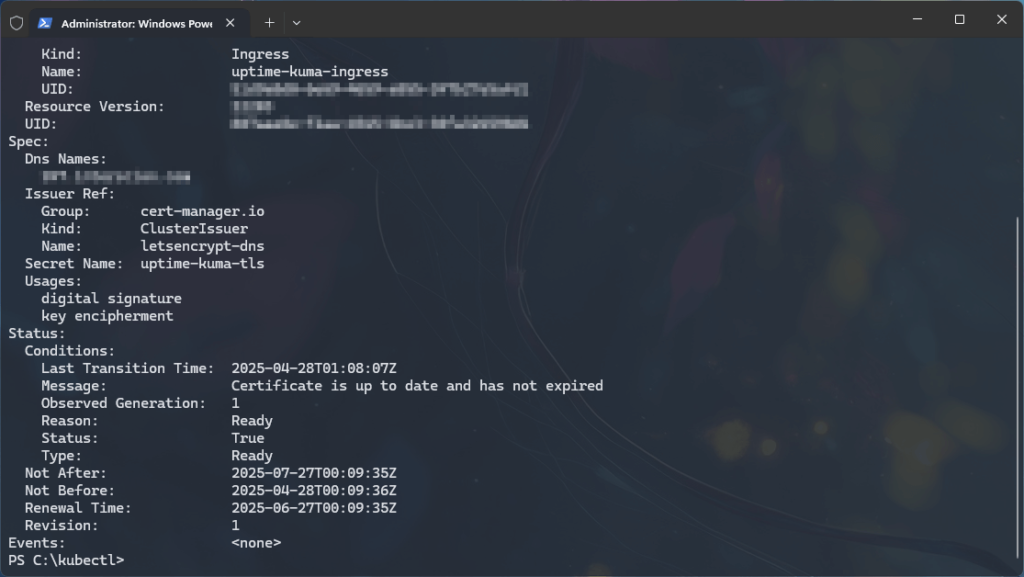
- When the certificate is successfully issued, you will see the output:
Status: True
Type: Ready- After confirmation, visit https://kuma.domain.com in a browser and confirm HTTPS works with a valid certificate.
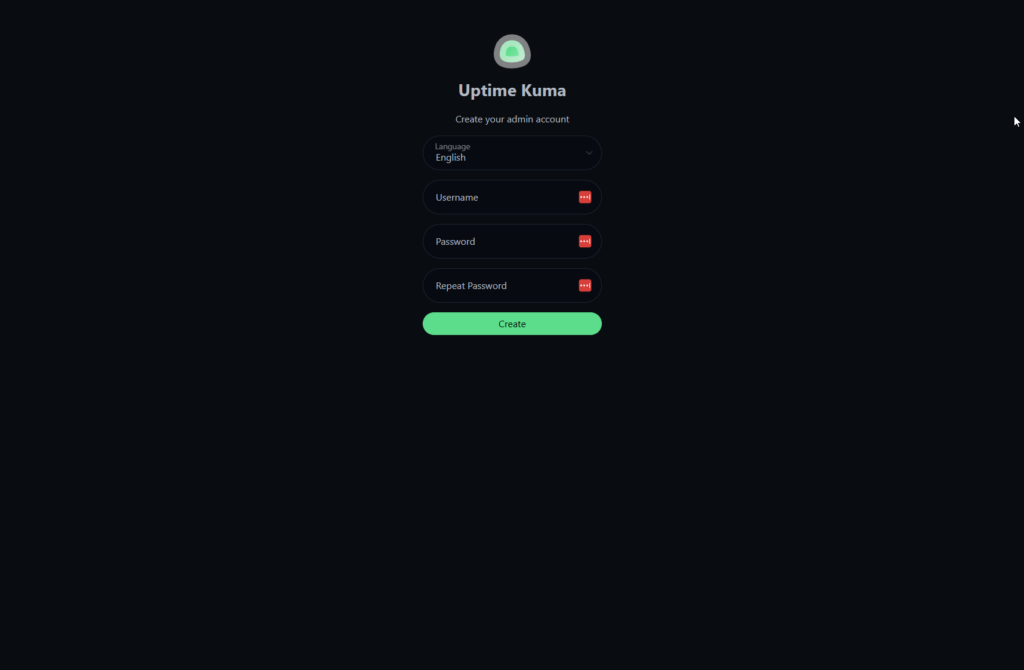
17. Uptime Kuma
- Visit https://kuma.domain.com and create an admin user.
- Click “Add New Monitor“.
- Set up a HTTP(s) monitor to monitor uptime for a domain:
- Monitor Type: HTTP(s)
- Friendly Name: infomaniak
- URL: https://infomaniak.com
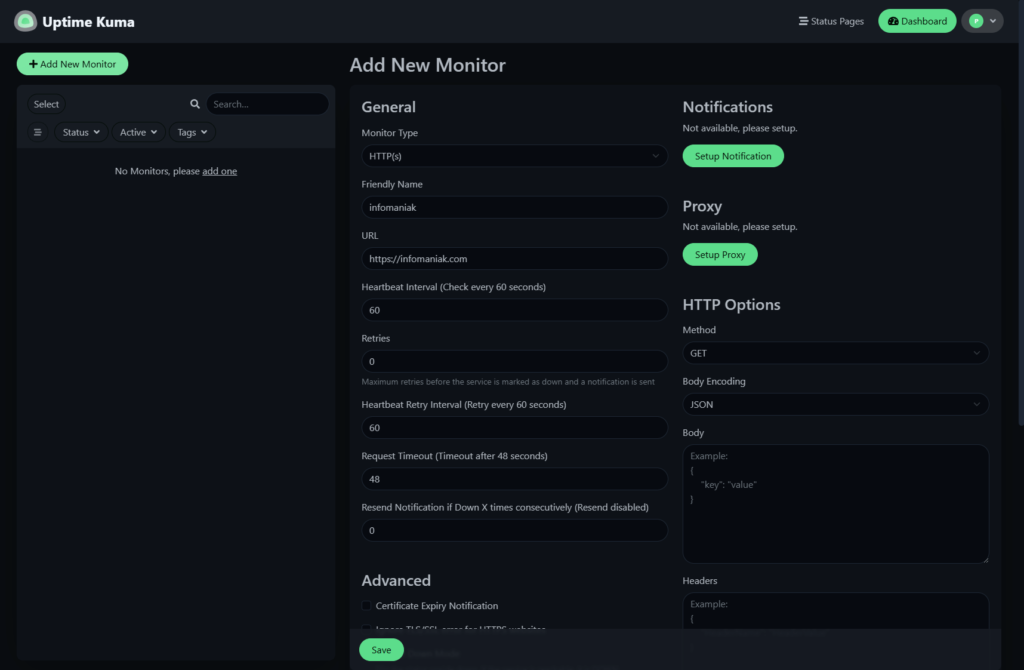
- Click “Save“.
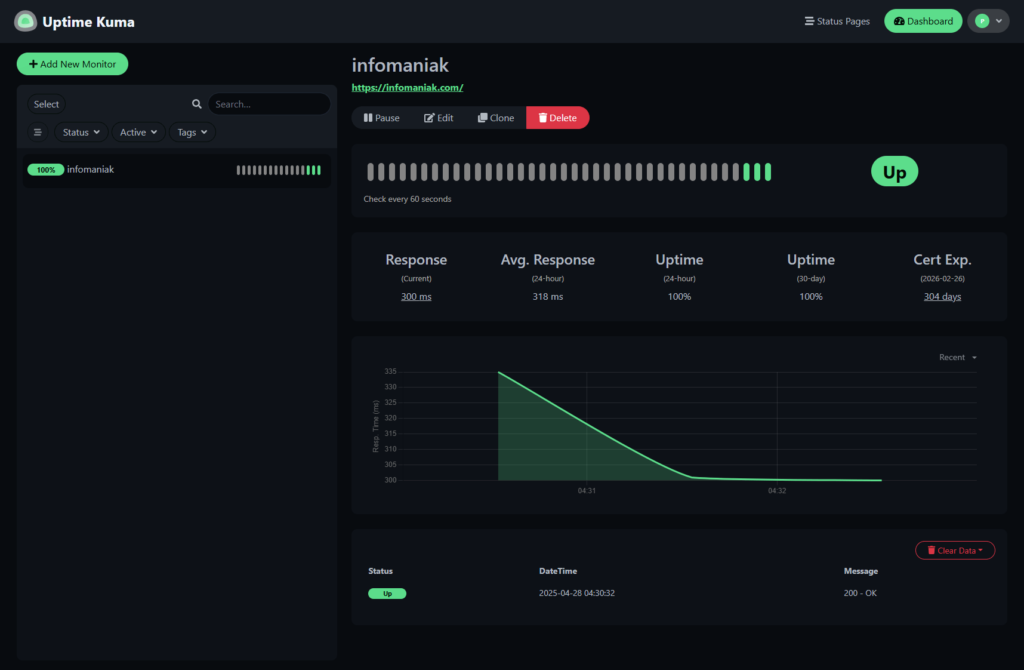
- Click infomaniak in the left-side menu and watch Uptime Kuma monitor infomaniak.com
Conclusion – Overview
We’ve deployed and configured a Kubernetes cluster on Infomaniak, hosting Uptime Kuma and exposing it to the web through an NGINX Ingress controller with automatic Let’s Encrypt SSL certificate creation and renewal via cert-manager.
By following OpenStack and Kubernetes conventions, we’ve ensured a structured and scalable setup, using clear naming conventions like alpha-cluster-k8s for the cluster, uptime-kuma for the namespace, and organizing resources under the cloud-1 project. This approach aligns with best practices for tenant isolation in OpenStack and resource organization in Kubernetes, making our setup both efficient and maintainable.
For many people, Kubernetes might feel overwhelming at first, but by having a basic understanding of the structure beforehand and laying out the design of projects, clusters, and services in an architecture diagram, it helps us grasp the big picture and manage complexity effectively. This preparation allows us to deploy services confidently, knowing how each component such as namespaces, Ingress controllers, and certificates fits into the overall system, paving the way for smooth scaling and future expansions.
Post-Deployment Notes
- Certificate Renewal: Cert-manager will automatically renew the certificate 30 days before expiration. To check your renewal schedule, run the following command and note the “Renewal Time” field:
kubectl describe certificate uptime-kuma-tls -n uptime-kuma- Future Apps: For additional applications, create dedicated namespaces (e.g.,
kubectl create namespace app2) and deploy app-specific resources in those namespaces, reusing the NGINX Ingress controller (ingressClassName: nginx) and cert-managerClusterIssuer(letsencrypt-dns). This follows Kubernetes best practices for resource isolation and efficiency. - Project Naming Strategy: I chose a naming pattern of
cloud-1,cloud-2, andcloud-3for production environments. This approach is consistent with OpenStack best practices for tenant isolation and project organization. Although some teams may prefer names likeprod-1,staging-1, ordev-1to reflect environment purposes more explicitly. In my setup, eachcloud-Nproject clearly represents a distinct, isolated Kubernetes environment under theCompanyNamePublic Cloud organization.
Persistent Storage
In the event of a node restart or failure, pods will be rescheduled and redeployed by the Kubernetes control plane, but any ephemeral data stored within the pod filesystem will be lost unless persistent volumes (PVs) and persistent volume claims (PVCs) are configured.
In this setup, for example, Uptime Kuma’s SQLite database resides inside the pod’s local storage and would be wiped during pod rescheduling, requiring reinitialization and reconfiguration.
This guide focuses on deploying a Kubernetes cluster for testing purposes, following best practices for initial cluster setup. For production workloads or any application that persists state, it is essential to define and attach persistent storage through properly configured PVs and PVCs to ensure data integrity across node restarts, failures, or pod rescheduling events.
Uptime Kuma
While this guide focuses on deploying Kubernetes on Infomaniak, we’ve deployed a Uptime Kuma service and explored the basics of configuring an HTTP(s) monitor for a domain. Uptime Kuma offers much more – you can monitor a variety of services, including pinging servers, checking TCP ports, DNS records, Docker containers, SQL servers (e.g., MSSQL, MariaDB/MySQL, PostgreSQL), Redis, and even SSL certificate expirations. It also supports advanced monitoring types like gRPC, MQTT, and game servers.
Additionally, Uptime Kuma provides a wide range of notification options to alert you of downtime, including Discord, Signal, Slack, Telegram Bot, email, Pushover, and many more, ensuring you’re promptly informed of any issues and can respond quickly to keep your services running smoothly.
Final Thoughts
I hope this guide has been useful to you and inspires you to deploy your own Kubernetes cluster on Infomaniak. It’s a rewarding experience that offers hands-on learning with Kubernetes and a deeper understanding of cloud architecture.
I had a lot of fun exploring Infomaniak’s managed Kubernetes service, and I’m excited for you to discover its potential – whether for monitoring with Uptime Kuma or deploying your own applications. Happy clustering!