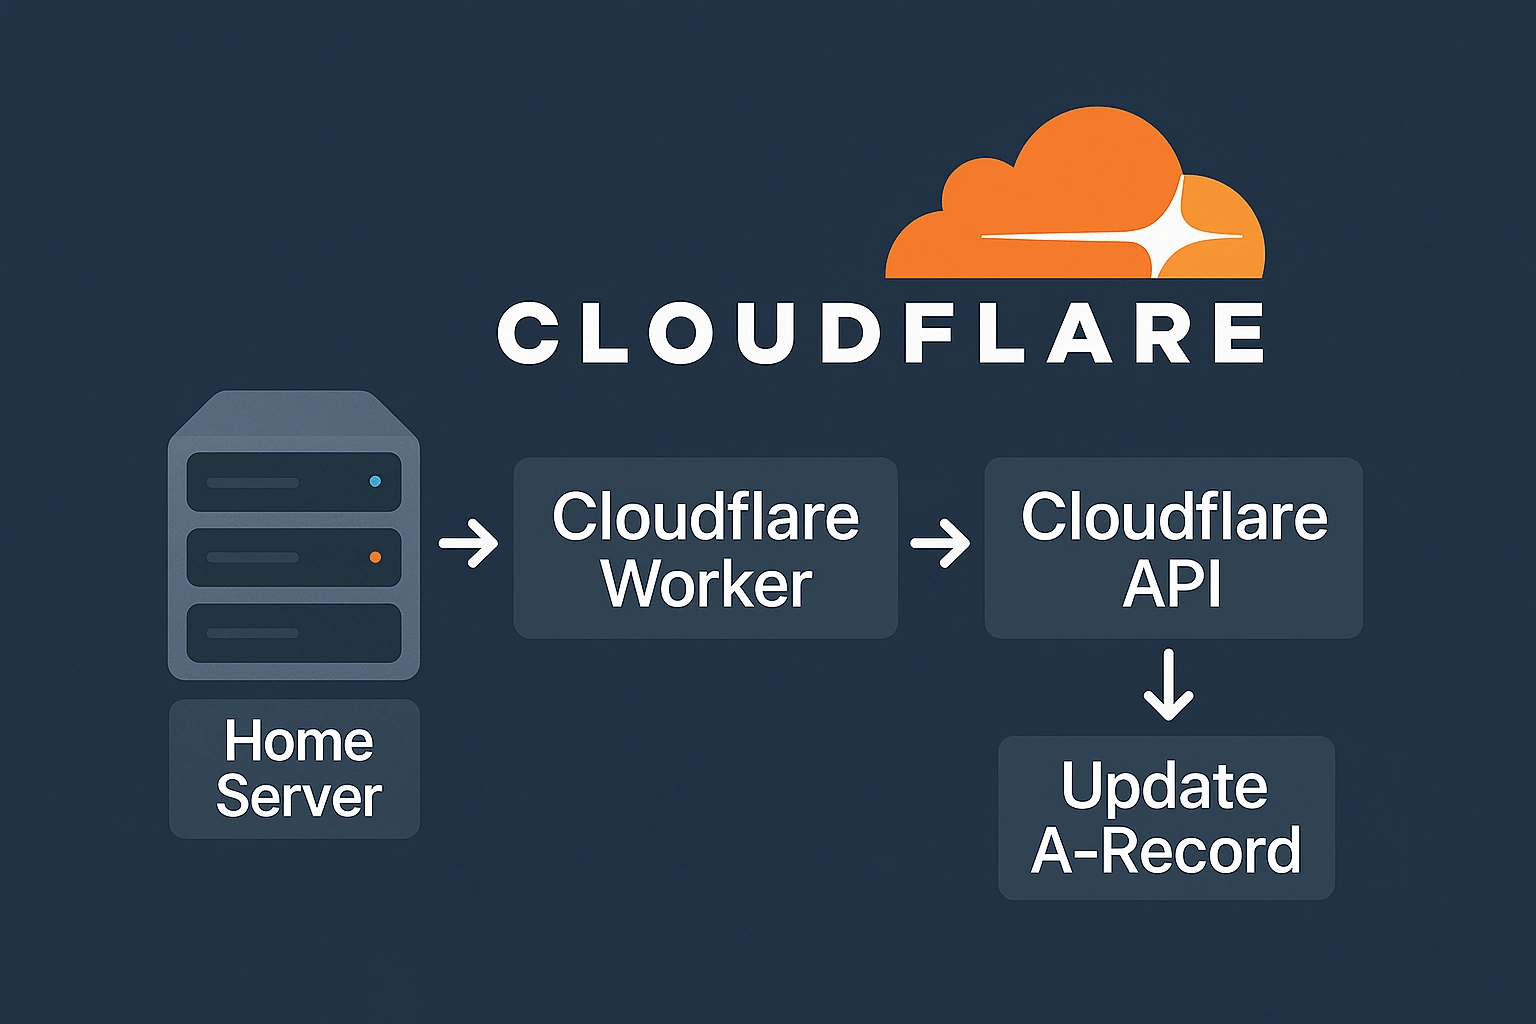
In this guide, we’ll set up Cloudflare to act as a Dynamic DNS (DDNS) service for a home server with a dynamic IP. While Cloudflare doesn’t offer a dedicated DDNS service, we can achieve the same functionality using Cloudflare Workers and the Cloudflare API.
Why Use Cloudflare for DDNS?
Cloudflare offers compelling advantages over traditional DDNS providers:
- IP Masking via Proxy: Your home server’s IP is hidden behind Cloudflare’s proxy, shielding it from direct internet exposure and enhancing privacy and security.
- DDoS Protection: Cloudflare’s free tier includes robust, unmetered DDoS mitigation, safeguarding your server from layer 3, 4, and 7 attacks – uncommon in traditional DDNS services.
- DNSSEC Support: One-click DNSSEC secures your domain against spoofing and cache poisoning, adding trust without complexity.
- Edge DNS Caching: Cloudflare’s global network caches DNS records close to users, reducing latency and speeding up resolution compared to typical DDNS providers.
- CDN Benefits: With proxy enabled, Cloudflare caches static content like images and scripts, accelerating your site’s performance worldwide.
These features make Cloudflare a powerful, secure, and fast DDNS solution, far beyond basic IP updates.
Requirements
To follow this guide, you’ll need:
- A domain managed by Cloudflare DNS (e.g., domain.com).
- A home server with a dynamic IP, running some kind of server (e.g., web server or FTP server).
Steps Overview
- Create an A record for your domain (e.g., home.domain.com).
- Generate a Cloudflare API token to update DNS records.
- Set up a Cloudflare Worker to update the DNS record, optimizing it to only update if the IP changes, to reducing unnecessary API calls.
- Configure a script on your server to call the Worker (PowerShell for Windows or Shell for Linux).
- Schedule the script to run every 5 minutes using Windows Task Scheduler or Crontab for Linux.
1. Create an A Record in Cloudflare DNS
Go to Account Home > Domains > domain.com > DNS and click “Add record”.
- Type: A
- Name: home
- IPv4 address: your current dynamic IP address
- Proxy status: Proxied (orange on)
- TTL: Auto
Save the record.
2. Generate a Cloudflare API Token
To go Account Home > Manage Account > Account API Tokens and click “Create Token” > Edit Zone DNS > “Use template”.
- Permission: Zone > DNS > Edit
- Zone Resources: Include > Specific zone > domain.com
Click Continue to summary > “Create Token”.
3. Get Zone ID and Record ID
Zone ID:
- Go to Account Home > domain.com > Copy the “Zone ID” from the right side under “API”.
Record ID:
- Use the Cloudflare API to list DNS records:
curl -X GET "https://api.cloudflare.com/client/v4/zones/<zone_id>/dns_records" \
-H "Authorization: Bearer <cloudflare_api_token>" \
-H "Content-Type: application/json"- Replace <zone_id> and <cloudflare_api_token> with your values.
- Find the A record for home.domain.com and copy its id (e.g., 5678efgh…).
4. Create a Cloudflare Worker
- Log in to your Cloudflare Dashboard.
- Go to Workers & Pages and click “Create”.
- Start from a template > Hello world.
- Name the Worker “home” and click “Deploy”.
- Click “Edit code” and replace the default code with the following:
export default {
    async fetch(request, env) {
        const url = new URL(request.url);
        const SECRET_KEY = "<secret_key>";
        const CLOUDFLARE_API_TOKEN = "<cloudflare_api_token>";
        const ZONE_ID = "<zone_id>";
        const RECORD_ID = "<record_id>";

        const authHeader = request.headers.get("Authorization");
        if (!authHeader || authHeader !== `Bearer ${SECRET_KEY}`) {
            return new Response("Unauthorized", { status: 403 });
        }

        if (url.pathname === "/update") {
            const newIp = request.headers.get("CF-Connecting-IP");
            if (!newIp) return new Response("No IP found", { status: 400 });

            // Get current A record IP
            const dnsResponse = await fetch(
                `https://api.cloudflare.com/client/v4/zones/${ZONE_ID}/dns_records/${RECORD_ID}`,
                {
                    method: "GET",
                    headers: {
                        "Authorization": `Bearer ${CLOUDFLARE_API_TOKEN}`,
                        "Content-Type": "application/json"
                    }
                }
            );
            const dnsResult = await dnsResponse.json();
            if (!dnsResult.success) {
                return new Response("Failed to fetch DNS record", { status: 500 });
            }
            const currentARecordIp = dnsResult.result.content;

            // Check if IP has changed
            if (newIp === currentARecordIp) {
                return new Response(`IP unchanged: ${newIp}`, { status: 200 });
            }

            // Update A record if changed
            const updateResponse = await fetch(
                `https://api.cloudflare.com/client/v4/zones/${ZONE_ID}/dns_records/${RECORD_ID}`,
                {
                    method: "PATCH",
                    headers: {
                        "Authorization": `Bearer ${CLOUDFLARE_API_TOKEN}`,
                        "Content-Type": "application/json"
                    },
                    body: JSON.stringify({
                        type: "A",
                        name: "home.domain.com",
                        content: newIp,
                        ttl: 1,
                        proxied: true
                    })
                }
            );

            const updateResult = await updateResponse.json();
            if (!updateResult.success) {
                return new Response("Failed to update DNS", { status: 500 });
            }

            return new Response(`IP updated: ${newIp}`, { status: 200 });
        }

        return new Response("Invalid request", { status: 400 });
    }
}
Replace the placeholders with:
- <secret_key>: Choose a secure key (e.g., MySecretCode123).
- <cloudflare_api_token>: Use the token from Step 2.
- <zone_id>: Use the Zone ID from Step 3.
- <record_id>: Use the Record ID from Step 3.
Then click “Deploy”.
The Worker checks if the new IP matches the current A record IP before updating. This optimization prevents unnecessary API calls, saving resources and avoiding rate limits (e.g., Cloudflare’s free plan allows 100,000 Worker requests per day).
5. Set Up a Custom Domain for the Worker
- In Workers & Pages > home > Settings > Domains & Routes, click “Add”.
- Pick “Custom Domain”, set “Domain” to ip.home.domain.com and click “Add domain”.
6. Configure a script on your server
Windows (Powershell)
- On your Windows Server, create a file named
Update-Cloudflare-DDNS.ps1inC:\Scripts\Scheduled. - Add the following code:
$WorkerURL = "https://ip.home.domain.com/update"
$SecretKey = "<secret_key>"

$Headers = @{
    "Authorization" = "Bearer $SecretKey"
}

Invoke-RestMethod -Uri $WorkerURL -Headers $Headers- Replace <secret_key> with the same key used in the Worker (e.g., MySecretCode123).
Linux (Shell)
- On your Linux server, create a file named
update-cloudflare-ddns.shin/home/user/scripts/cronjobs/ - Add the following code:
#!/bin/bash

WORKER_URL="https://ip.home.domain.com/update"
SECRET_KEY="<secret_key>"

curl -s -H "Authorization: Bearer $SECRET_KEY" "$WORKER_URL"- Replace <secret_key> with the same key used in the Worker (e.g., MySecretCode123).
- Make the script executable:
chmod +x /home/user/scripts/cronjobs/update-cloudflare-ddns.sh7. Schedule the Script
Windows (Task Scheduler)
- Open PowerShell as Administrator on your Windows Server.
- Run the following command to create a scheduled task that runs every 5 minutes:
$action = New-ScheduledTaskAction -Execute "powershell.exe" -Argument "-NoProfile -WindowStyle Hidden -ExecutionPolicy Bypass -File C:\Scripts\Scheduled\Update-Cloudflare-DDNS.ps1"
$trigger = New-ScheduledTaskTrigger -Once -At (Get-Date) -RepetitionInterval (New-TimeSpan -Minutes 5)
$trigger.Repetition.Duration = $null
$settings = New-ScheduledTaskSettingsSet -AllowStartIfOnBatteries -DontStopIfGoingOnBatteries -StartWhenAvailable -RunOnlyIfNetworkAvailable
$principal = New-ScheduledTaskPrincipal -UserId "SYSTEM" -LogonType ServiceAccount -RunLevel Highest
Register-ScheduledTask -TaskName "UpdateCloudflareDDNS" -Action $action -Trigger $trigger -Description "Updates Cloudflare DDNS IP every 5 minutes" -Principal $principal -Settings $settings -Force
Linux (Crontab)
- On your Linux server, open up crontab:
crontab -e- Add the following line to run the script every 5 minutes:
*/5 * * * * /home/user/scripts/cronjobs/update-cloudflare-ddns.sh- Save and exit.
8. Test the Setup
- Manually run the task or script:
- Windows: Run the task in Task Scheduler (UpdateCloudflareDDNS).
- Linux: Run the script manually:
/home/user/scripts/cronjobs/update-cloudflare-ddns.sh.
- Check the A Record for home.domain.com in Cloudflare to confirm the IP updates when it changes.
- Test connectivity to your server:
- For HTTP/HTTPS:
- If using Full (Strict) SSL/TLS mode (recommended): Ensure your server has SSL configured on port 443, then access https://home.domain.com.
- If using Flexible SSL/TLS mode: Access http://home.domain.com (less secure, as Cloudflare will connect to your server on port 80).
- For FTP (port 21)
- Set the A record for home.domain.com to DNS Only in Cloudflare DNS (this exposes your server’s IP).
- Use an FTP client to connect to ftp://home.domain.com:21.
- For HTTP/HTTPS:
Conclusion
You now have a fully functional DDNS setup using Cloudflare! Your home server’s dynamic IP will automatically update, and your IP stays hidden behind Cloudflare’s proxy.
For maximum security, enable SSL on your server and use Full (Strict) SSL/TLS mode for domain.com, ensuring HTTPS traffic. If HTTP is needed without SSL, switch to Flexible mode.
If you need a subdomain for e.g., FTP or some other service which can not be proxied by Cloudflare, I suggest creating a separate DNS Only ‘A Record’ (e.g., ftp.home.domain.com), while keeping home.domain.com proxied for HTTP/HTTPS traffic.